Christmas decorating does not have to cost a fortune to look beautiful. Some of the warmest, most inviting homes at the holidays are put together with a few well-chosen dollar store finds, a little creativity, and a clear plan. The secret is not buying more. It is buying smarter, repeating a small color palette through the whole house, and pairing anything shiny with soft, matte, natural textures so the whole look reads expensive instead of plasticky.
These 25 dollar store Christmas decor ideas will help you decorate the tree, the mantel, the table, the porch, and even the gifts under the tree, all without blowing your holiday budget. Before you shop, set a per-room limit and stick to it. Dollar store seasonal stock varies by store and sells out fast, especially in November, so if you find the exact ornaments, ribbon, or candle holders you love, buy them when you see them. Prices and stock vary by store, so check in store and build your plan around what you can actually find, not a perfect shopping list. Keep your receipt, keep the packaging for anything fragile, and save what still looks good for next year. That is how a small budget keeps paying off, season after season.
1. Set a Per-Room Budget Before You Shop
Start with a number for each space, not one vague total for the whole house. For example, decide what you will spend on the tree, what you will spend on the mantel, and what you will spend on the table. A written limit stops the classic dollar store trap: everything looks cheap individually, so you keep adding “just one more thing” until the cart is full of pieces that do not belong together. Walk the store once without a basket, note what is actually in stock, then shop your list room by room. Choose two or three colors for the whole house, such as cream, sage, and gold, and let every purchase pass that test. If it does not fit the palette, leave it on the shelf. This one habit is the difference between a home that looks collected and a home that looks cluttered.
Budget-stretching tip: decorate the rooms guests actually see first. A finished entryway, living room, and dining table will make the whole house feel festive, even if the bedrooms stay simple. Save the leftovers for next year rather than forcing them into a room that is already done.
2. Fill the Tree With Shatterproof Ornaments First
A full-looking tree is mostly about coverage, not cost. Start with inexpensive shatterproof ornaments in your main colors and hang them deep inside the branches as well as on the tips. The ornaments tucked inside create depth and shadow, so the tree looks lush even before you add anything special. Then add a smaller number of prettier pieces near the front, where the eye naturally lands. If you are decorating with kids or pets, shatterproof ornaments are also the practical choice, because a knocked-off bauble becomes a funny story instead of a mess of broken glass. For more tree inspiration, see these Christmas tree decor ideas and adapt the layout to whatever tree you already own.
Make it look expensive: keep the ornament sizes mixed. A few larger ornaments near the bottom, medium ones through the middle, and smaller ones near the top give the tree a professional, graduated shape. Avoid hanging every ornament at the very tip of a branch, which is what makes a tree look sparse and store-bought.
3. Mix Matte Ornaments With Just a Few Shiny Ones
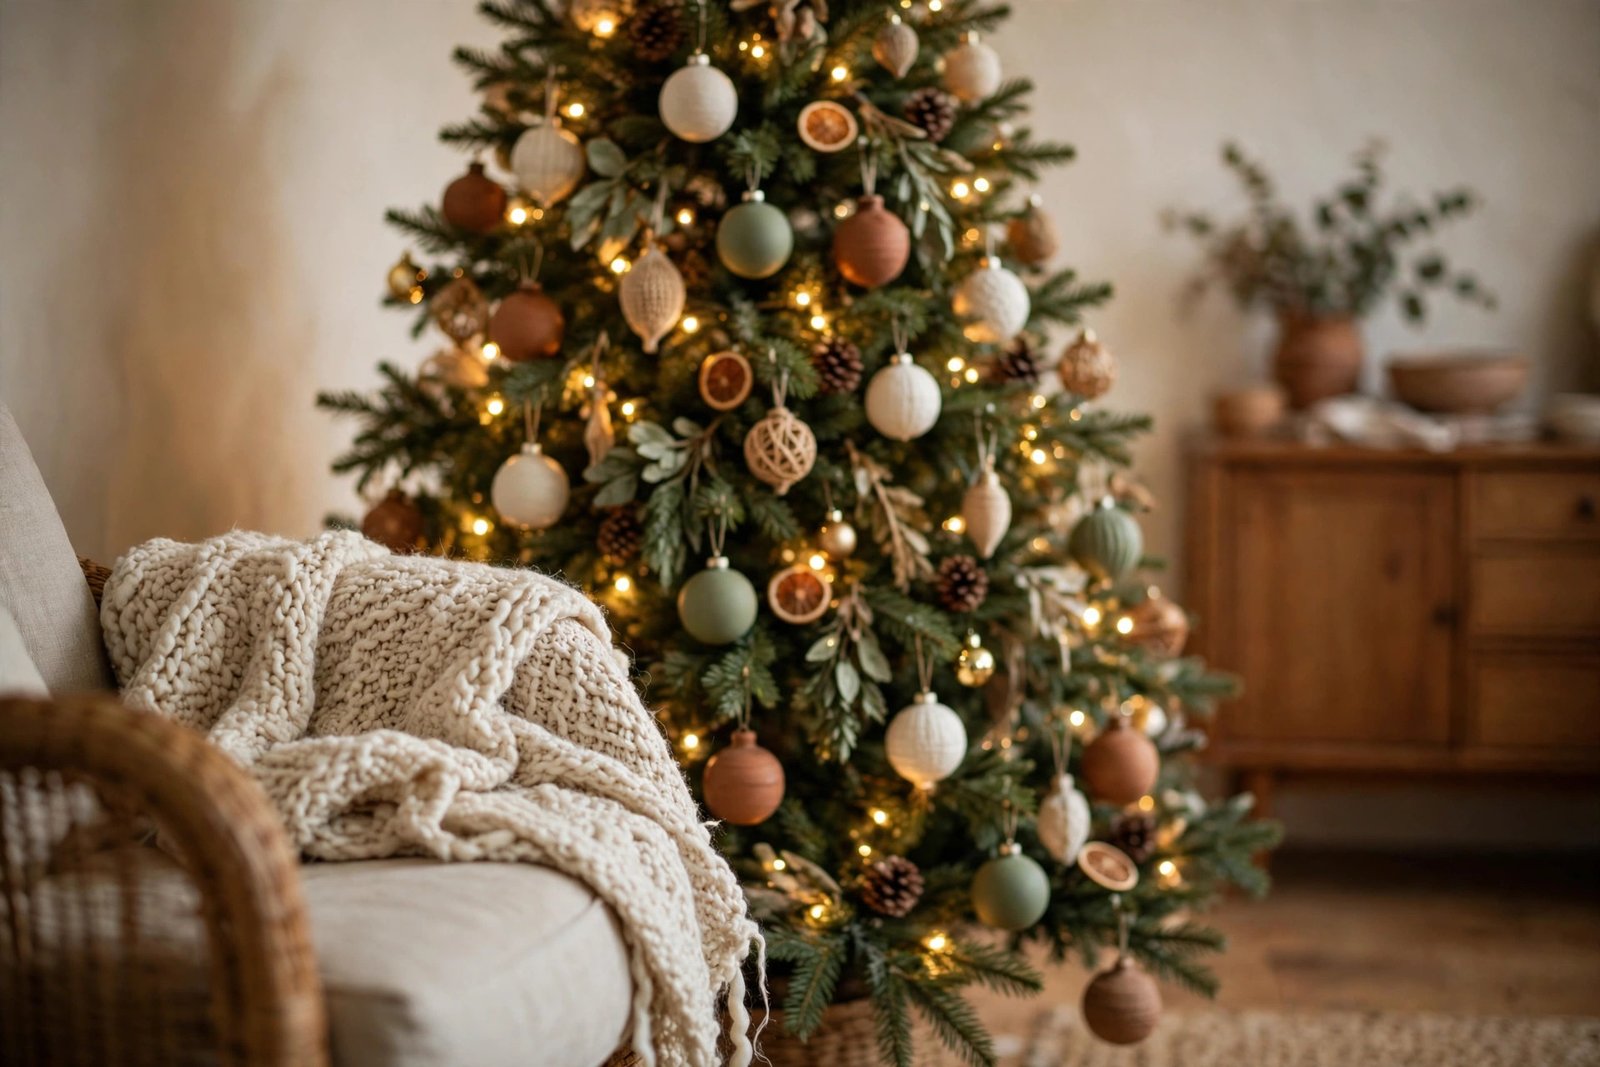
This is the single most important rule in this whole list. Matte ornaments in cream, sage, terracotta, or soft wood tones calm a tree down and make it look curated. Shiny ornaments add sparkle, but only when they are the minority. Aim for roughly three matte ornaments for every shiny one. When everything shines, nothing stands out, and the tree starts to look like plastic. When matte textures dominate, the few gold or silver pieces catch the light beautifully and read as intentional accents rather than cheap glare. The same rule works on a mantel, a table, and a wreath: pair every shiny element with wood, linen, greenery, or kraft paper.
DIY upgrade: if you already own a box of very shiny ornaments, tone them down by mixing in matte ribbon, dried orange slices, pinecones, or wooden beads. You do not need to replace the whole box. You just need to give the shine something quiet to sit next to.
4. Spray-Paint Plain Ornaments Into a Custom Palette
Plain ornaments are one of the best dollar store buys because paint transforms them completely. Choose a matte or satin spray paint in your palette, work outside or in a well-ventilated garage, and apply two light coats rather than one heavy one. Light coats dry evenly and do not drip or pool in the ornament’s creases. Let each coat dry fully before turning the ornament, and hang painted ornaments on a line or a drying rack so they do not pick up dust from a table. Gold, champagne, sage, and cream all work beautifully over a plain base, and a matte finish will always look more expensive than a high-gloss one.
Safety and practicality matter here. Spray paint outdoors, keep it away from open flames and lit candles, and never paint near the tree while the lights are on. Painted ornaments also make a great second-year project: if you change your color scheme, repaint rather than rebuy.
5. Make a Beaded Ornament Garland for the Tree
A garland made from inexpensive ornaments strung on twine or ribbon fills gaps on a tree for very little money, and it looks far more considered than a thin tinsel strand. Alternate ornament sizes and finishes, and add wooden beads between the ornaments to break up the shine. Drape it in loose swags rather than pulling it tight around the tree, because a relaxed drape reads as soft and full while a tight spiral reads as stiff. If your tree is small, one garland is plenty. On a larger tree, two garlands in the same palette will look intentional rather than crowded.
Budget-stretching tip: make the garland long enough to reuse on the mantel or a banister after Christmas, or save it flat in a box so the ornaments do not tangle. A decoration that works in two places is twice the value.
6. Flock a Small Tree or a Few Branches
Flocking spray can turn a plain artificial tree, a small tabletop tree, or even a bundle of bare branches into a snowy centerpiece. Work outside, cover the ground, and spray lightly from a distance so the “snow” settles like dust rather than clumping. Less is more: a lightly flocked branch looks like a winter morning, while a heavily flocked one looks like it was dipped in paint. Let the branches dry completely before bringing them indoors, and keep flocked pieces away from damp spots, which can make the coating clump or shed.
Make it look expensive: pair flocked branches with warm fairy lights and matte ornaments only. The white flocking already adds brightness, so shiny ornaments on top of it can quickly look garish. Wood, linen, and dried orange slices keep the snowy look calm and elegant.
7. Build a Topper From Ribbon and Picks Instead of Buying One
Expensive tree toppers are often just ribbon, picks, and a bow dressed up. You can build the same effect with dollar store ribbon, a few berry or greenery picks, and a wire tie. Gather three or four picks at different heights, fan them slightly, and bind them tightly at the base. Add a large, well-shaped bow on top, then fluff the loops until the bow looks full from every angle. Push the bundle firmly into the top of the tree and secure it with a twist tie or floral wire so it does not lean. A topper that leans is the fastest way to make a beautiful tree look unfinished.
Practical tip: step back and look at the topper from across the room, not just from up close. From a distance, the silhouette matters more than the details. If the topper disappears against the wall, add one taller pick or a wider bow.
8. Layer the Mantel With Garland, Beads, and Candlelight
A mantel looks expensive when it is layered, not when it is loaded. Start with a greenery garland draped in a gentle swag, with the center dipping slightly lower than the ends. Add a wooden bead garland on top of the greenery, then tuck in just a few small shiny ornaments. Finish with candles in simple holders, keeping the flames away from the garland and never leaving lit candles unattended. The combination of matte greenery, wood, linen, and a small amount of shine is exactly the matte-over-shine balance that makes budget decor look high end. For more mantel styling ideas, explore these Christmas mantel decor ideas and pick the layout that suits your fireplace.
DIY upgrade: hang a blank kraft tag or a small bundle of greenery from the garland with twine. It costs almost nothing, it adds a handmade touch, and it breaks up a long, flat garland so the mantel looks styled rather than simply covered.

9. Fill Glass Vases and Hurricanes With Ornaments and Fairy Lights
Clear glass vases, hurricanes, and large jars are some of the most versatile dollar store finds. Fill one with ornaments in your palette, coil a short string of battery fairy lights inside, and you have an instant centerpiece for a sideboard, a console, or a bathroom counter. The glass protects the lights, the ornaments add color, and the whole piece can be made in five minutes. Keep the ornament sizes similar inside a single vase so the fill looks intentional, and place the battery pack where you can reach it easily without lifting a heavy vase.
Safety tip: use battery lights, not plug-in lights, inside closed glass, and switch them off when you leave the house or go to bed. If the vase will sit near a window, check that direct sunlight is not magnified through the glass onto anything flammable.
10. Create a Bottle-Brush Village on a Sideboard
A tiny village scene is charming because it tells a story, and it does not need expensive pieces to work. Line up small bottle-brush trees in different heights on a sideboard or a windowsill, add a few small houses or ornaments you already own, and scatter a thin layer of faux snow or a white cloth underneath. Vary the heights so the eye moves across the scene instead of stopping at one flat line. Leave breathing room between the pieces: a crowded village looks like storage, while a spaced-out village looks like a display.
Budget-stretching tip: build the village gradually. Buy the trees one year, add houses the next, and let the scene grow. A collection built slowly always looks more personal than a matching set bought all at once.
11. Wrap Empty Boxes as Faux Presents
Empty boxes wrapped in kraft paper, tied with twine, and topped with a sprig of greenery look wonderful under the tree or stacked by the fireplace, and they cost almost nothing. Use boxes you already have, from cereal boxes to shipping boxes, and wrap them neatly with crisp corners. A sloppy wrap is what gives the trick away, so take an extra minute on the folds. Group the boxes in odd numbers, such as three or five, and vary their sizes so the display looks like real gifts rather than a row of identical packages. Keep them away from radiators and fireplaces, and do not stack anything heavy on top.
Make it look expensive: stick to one wrapping paper and one ribbon for all the faux presents. Matching paper is what makes a pile of boxes look like a styled display instead of a pile of leftovers.
12. Make a Wreath From Ornaments and Mesh
A wreath built on a simple foam or wire form, covered with inexpensive ornaments, looks far more generous than a thin store-bought wreath. Hot-glue ornaments close together, starting from the outside edge and working inward, and fill any gaps with small ornaments, greenery picks, or ribbon loops. A glue gun is the right tool here, but work carefully: hot glue burns, so keep fingers clear of the nozzle and let each ornament set before moving the wreath. Hang the finished wreath with a wide ribbon looped over the door or a wreath hanger, and check that it clears the door frame when the door opens and closes.
Practical tip: weigh the wreath before you hang it. Ornament wreaths get heavy fast, and a small adhesive hook will not hold one. Use a proper over-the-door hanger or a sturdy nail rated for the weight.
13. Set the Table With Chargers, Ribbon, and Greenery
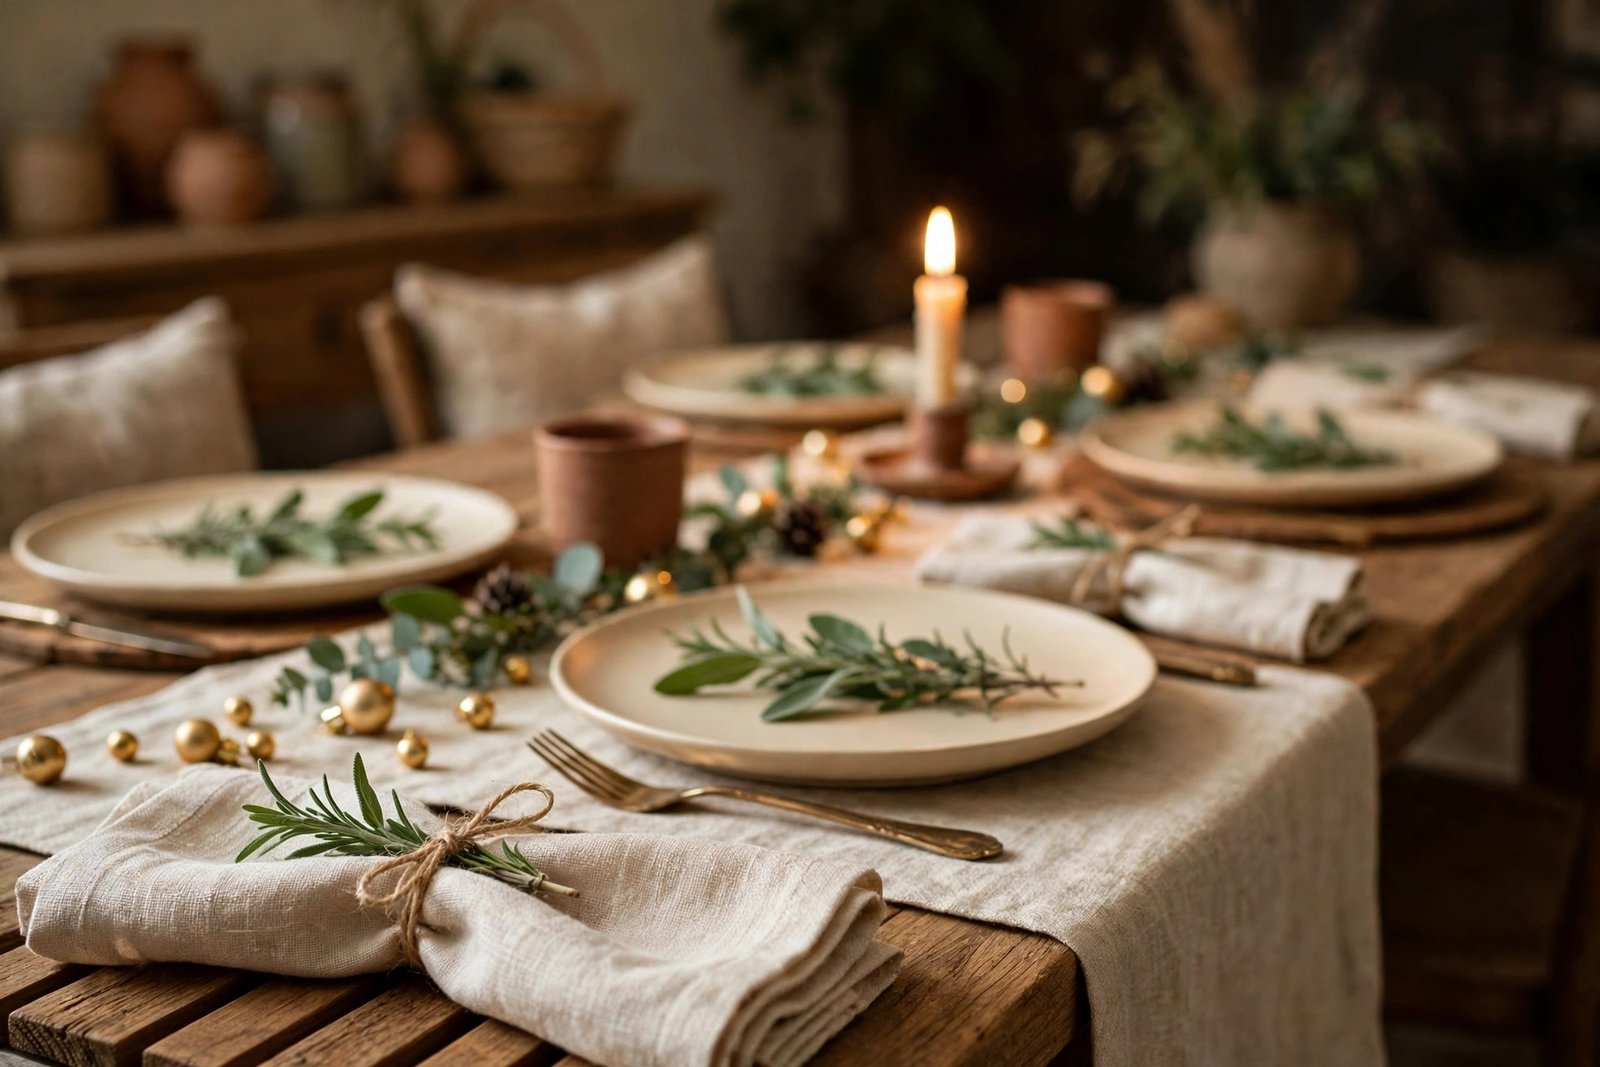
A festive table does not need a new dinner set. Start with what you already own, add inexpensive charger plates underneath, and finish each place with a sprig of real greenery on the plate. A linen or cotton napkin tied with twine and a small sprig of rosemary or eucalyptus looks thoughtful and costs pennies per place. Scatter a few small shiny ornaments down the center of the table, but keep them away from plates and glasses so guests are not chasing rolling baubles during dinner. A simple linen runner down the middle ties the whole table together and protects the wood underneath. For a fuller holiday table plan, see these Christmas dining room decor ideas and borrow the layout ideas that fit your room.
Make it look expensive: repeat one element at every place setting, exactly the same way. Matching napkins, matching greenery, and matching ribbon are what make a table feel like a restaurant table rather than a collection of random pieces. Keep the centerpiece low so guests can see each other across the table.
14. Dress Dining Chairs With Simple Ribbon Bows
Chair bows are a classic holiday trick because they transform a whole dining room in minutes. Tie a wide ribbon around the back of each chair and finish with a simple bow, keeping the tails even and the loops full. Use the same ribbon on every chair, and tie every bow the same way, so the room looks intentional. If you have young children, tie the bows firmly and keep the tails short enough that they do not become a pulling hazard. After dinner, the ribbons can be untied, folded, and saved for next year, which makes this one of the best value ideas on this list.
Budget-stretching tip: buy one wide roll of ribbon rather than pre-tied bows. A roll will dress every chair, wrap a few gifts, and still leave enough for the tree topper.
15. Build a Hot Cocoa and Cookie Station
A small station on a sideboard or a kitchen counter makes the house feel welcoming all season, not just on Christmas Day. Set out mugs, a jar of cocoa mix, a small bowl of marshmallows, and a plate for cookies. Keep the display tight: one tray or one section of counter is enough. A tray corrals the pieces, protects the surface, and makes the station easy to move when you need the counter back. Add a small sign or a handwritten tag if you like, but keep the words simple and the display uncluttered. Refill the jars as needed and wipe the tray weekly so the station stays inviting instead of sticky.
Practical tip: keep the station away from the stove and the sink. Steam and splashes will ruin cocoa mix and make paper decorations soggy. A dry corner of the counter is the right home for it.
16. Dress Windows With Paper Snowflakes and Lights
Paper snowflakes are free, they are a wonderful project with kids, and they look magical in a window at night. Cut them from plain white paper, fold carefully, and hang them at different heights with clear thread or tape so they appear to float. Add a string of warm fairy lights around the window frame, and the snowflakes will glow softly in the evening. Keep paper decorations away from candles and radiators, and take them down if condensation builds up on the glass, since damp paper tears and sticks.
Make it look expensive: use one size range and one style of snowflake per window, rather than mixing every shape you can cut. Restraint is what turns a craft project into a window display.
17. Style the Entryway Console With a Small Tree and a Lantern
The entryway sets the tone for the whole house, and it does not need much. A small tabletop tree, a lantern with a battery candle, and a bowl for keys or mail are enough. Keep the console clear enough to actually use: guests need somewhere to put a bag, and you need somewhere to put your keys. A small tree in a basket or a ceramic pot looks more finished than a tree standing bare on the console, and a woven basket adds the matte texture that keeps any shiny ornaments from looking cheap. Step back and check the entryway from the front door, because that is the view guests will actually see.
Budget-stretching tip: the entryway is the best place to reuse last year’s leftovers. A lantern from the porch, a small tree from a bedroom, and a bowl you already own can make a complete entryway display without a single new purchase.
18. Light the Porch With Lanterns and a Simple Wreath
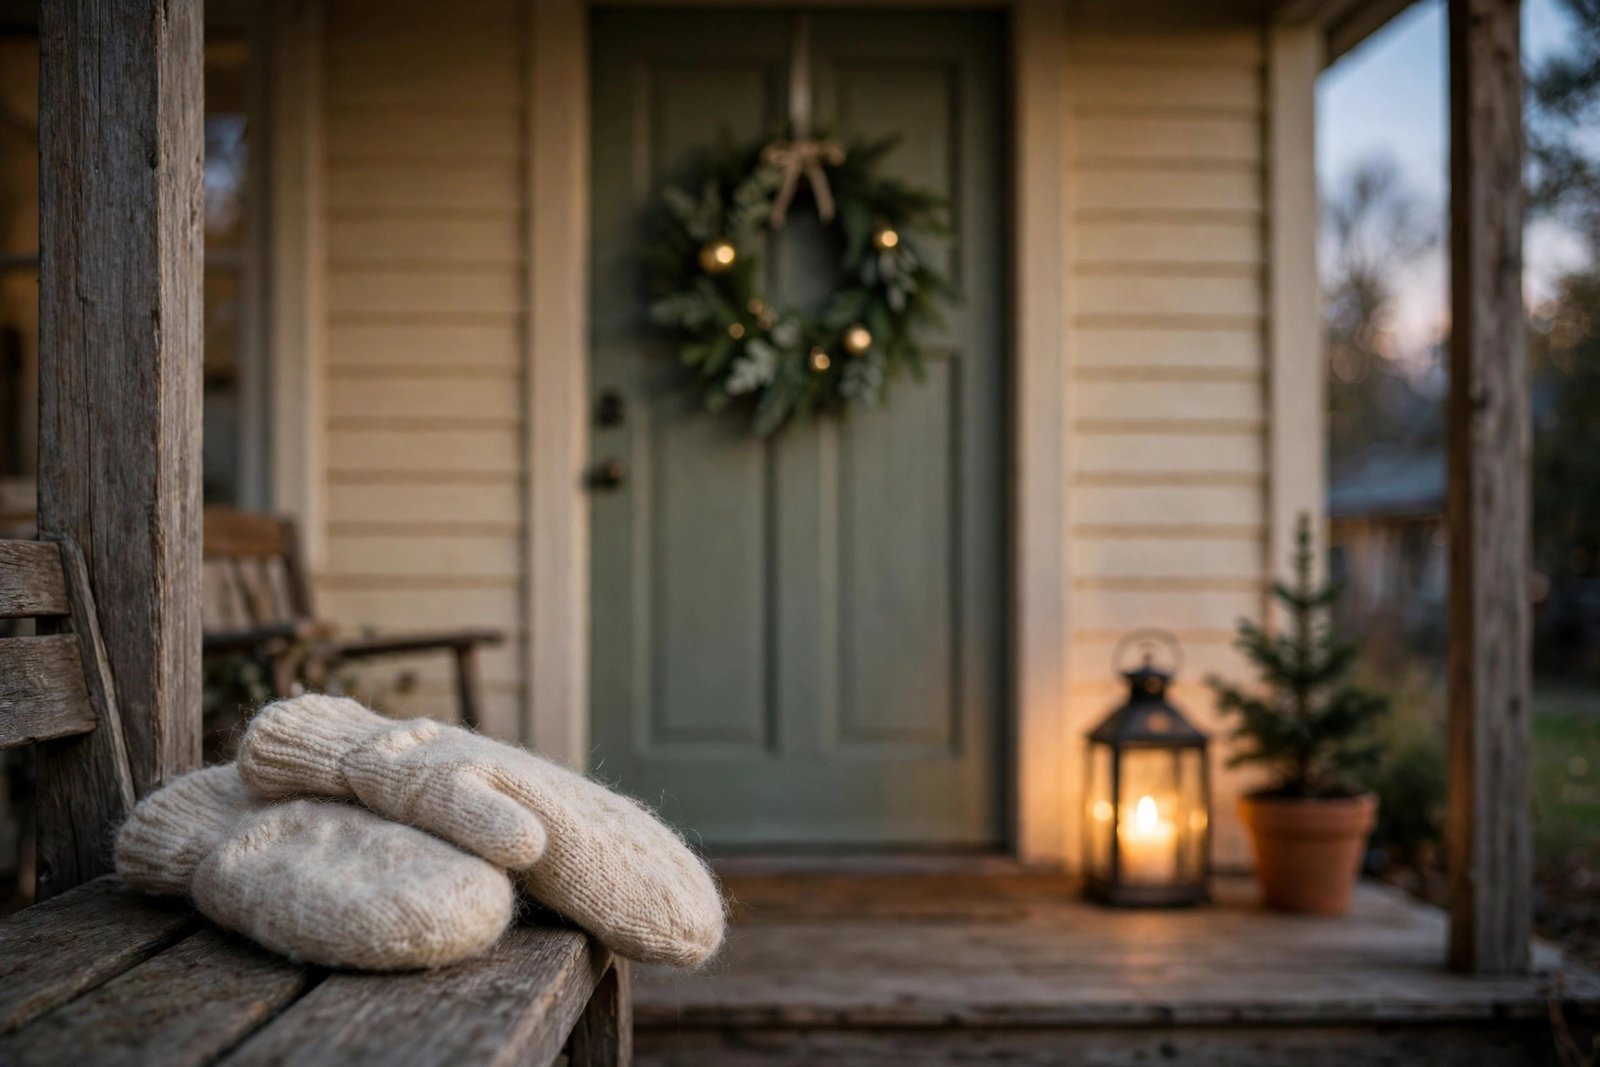
Outdoor decorating works best when it is simple and weatherproof. A wreath on the door, a lantern beside it, and a small potted evergreen are enough to make a porch feel festive from the street. Use battery candles in outdoor lanterns so wind cannot blow out a flame, and bring real candles indoors at night. Check that your wreath and lantern are rated or at least suitable for outdoor use, and secure them against wind so they do not end up in the yard. A doormat with a simple seasonal pattern finishes the look without adding clutter.
Practical tip: walk to the street and look back at your porch in the evening. That is the view your neighbors and guests see. If the porch looks dark or unbalanced from the street, move the lantern closer to the door or add a second one on the other side for symmetry.
19. Upgrade Plain Stockings With Trim and Monograms
Plain stockings are a blank canvas. Sew or glue on a cuff of faux fur, a strip of ribbon, or a row of small pom-poms, and a basic stocking suddenly looks custom-made. A simple initial, cut from felt and glued or stitched on, makes each stocking feel personal without needing embroidery skills. Keep embellishments away from open flames, and hang stockings with sturdy hooks that can hold the weight of small gifts. If stockings hang near a fireplace, use them as decoration only and move them away from the fire before lighting it, or hang them on a mantel rail or a wall instead.
DIY upgrade: use the same trim on every stocking in the house. Matching cuffs are what make a row of stockings look like a set, even if the stockings themselves came from different stores in different years.
20. Make an Advent Calendar From Small Bags
An advent calendar made from small kraft bags, muslin pouches, or paper cups is a lovely countdown tradition, and it doubles as wall decor. Hang the bags on a string with small clips, number them with a marker or a sticker, and fill them with small treats, notes, or tiny activities rather than expensive gifts. The countdown itself is the treat. Hang the calendar where children can reach it safely, keep small items away from very young children, and check the string regularly so a heavy bag does not pull the whole display down.
Budget-stretching tip: refill the same bags next year. A calendar you reuse is one of the few decorations that actually saves money every single December.
21. Give Kids a Low, Kid-Friendly Section of the Tree
If children want to help decorate, give them a job that actually works. Reserve the lower branches of the tree for shatterproof ornaments they can hang, move, and rehang as often as they like, and keep fragile or precious ornaments higher up. A small tabletop tree of their own is even better, because they can decorate it completely without worrying about the “grown-up” tree. Let the kid-friendly section look joyful rather than perfect: a slightly chaotic lower third on a tree reads as a family home, not a failed display. Keep small ornaments, batteries, and cords out of reach of toddlers, and check that any lights on a child’s tree are cool to the touch.
Make it look expensive: keep the kid-friendly ornaments in your house palette, even if the shapes are playful. Red trucks, wooden stars, and felt ornaments in cream, sage, and gold will blend beautifully with the rest of the tree, while a rainbow of unrelated colors will fight it.
22. Style Shelves and Bookcases With Mini Trees and Ornaments
Shelves are often forgotten at Christmas, but a few small touches there make the whole living room feel finished. Tuck a mini tree, a small vase of ornaments, or a single candle among the books, and leave plenty of empty space around each piece. A shelf that is packed edge to edge looks like storage, while a shelf with one or two festive pieces looks styled. Keep decorations away from the edges so nothing gets knocked off, and do not block books you actually reach for every day. For living room styling that ties shelves, sofas, and trees together, see these Christmas living room decor ideas and adapt the balance of full and empty space to your own shelves.
Practical tip: work shelf by shelf and step back after each one. It is easy to over-decorate the first shelf and run out of pieces, or to decorate every shelf identically. A little variation from shelf to shelf looks more natural.
23. Wrap Gifts in Kraft Paper, Twine, and Greenery
Kraft paper gift wrap is inexpensive, it suits every color scheme, and it looks far more expensive than shiny patterned paper when it is finished well. Wrap each gift neatly, tie it with twine, and tuck a sprig of real greenery under the twine. Add a thin gold ribbon on a few gifts, not all of them, so the shine stays an accent against the matte paper. Write names on kraft tags in a clear hand, and keep the tags consistent so the gifts look like a set under the tree. Real greenery wilts after a few days, so wrap gifts with greenery close to Christmas Day, or use faux sprigs for gifts wrapped early.
Budget-stretching tip: buy one large roll of kraft paper and one spool of twine, and use them for every gift. Matching wrap under the tree is one of the easiest ways to make the whole living room look coordinated, and it costs less than buying a different paper for each person.

24. Fill Bowls With Potpourri, Pinecones, and Oranges
A bowl of potpourri, pinecones, and dried orange slices adds scent as well as color, and it fills an empty coffee table or console in seconds. Start with a bowl you already own, add a base of pinecones, tuck in dried orange slices, and finish with a few small ornaments in your palette. Dried oranges are easy to make in a low oven, but watch them closely and let them cool completely before adding them to a display. Keep potpourri bowls away from open flames, and refresh them with a few drops of essential oil if the scent fades, rather than replacing the whole bowl.
Make it look expensive: use one bowl, generously filled, rather than three small bowls scattered around a room. One confident display always reads better than several hesitant ones.
25. Pack It All Away by Color for Next Year
The final dollar store idea is about next Christmas, not this one. When you take the decorations down, pack them by color and by room, label each box clearly, and store fragile pieces wrapped in tissue or old fabric. A box labeled “living room, cream and gold” will save you an hour of sorting next December, and it stops you from rebuying things you already own. Check battery lights before you pack them, remove batteries so they do not leak, and throw away anything broken, faded, or tangled beyond saving. A smaller, better-kept collection will always look more expensive than a large box of tired decorations.
Practical tip: while you pack, make a short note of what you actually used and what stayed in the box all season. That note is your shopping list for next year, and it is how a dollar store budget gets smarter every Christmas.
Products to Consider
These are generic categories to look for, not specific products. Check in store, since stock and prices vary by location and season.
- Shatterproof ornaments in matte cream, sage, and terracotta
- Battery fairy lights with a warm white glow
- Wooden bead garland and greenery garland
- Clear glass vases, hurricanes, and large jars
- Wide ribbon in cream, sage, or gold
- Kraft wrapping paper, twine, and blank kraft tags
- Simple candle holders and battery candles
- Small bottle-brush trees and mini tabletop trees
- Charger plates and linen or cotton napkins
- A hot glue gun, floral wire, and twist ties for DIY projects
FAQ
Are dollar store Christmas decorations good quality?
Some are excellent value and some are not, so shop with your eyes open. Ornaments, ribbon, glass vases, wrapping paper, and garlands are usually great buys, because they are simple items that do not need complex manufacturing. Lights, candles, and anything electrical deserve more care: check the packaging, test lights before you hang them, and replace anything that flickers, smells odd, or feels hot. The trick is to spend the least on items that simply fill space, and to spend a little more care, not necessarily money, on the few pieces guests will look at closely.
When should I shop for dollar store Christmas decor?
Start in late October or early November if you can. Seasonal stock arrives early, the best colors and styles sell out first, and the shelves are often picked over by December. Shopping early also gives you time to return to a second store if your first choice is out of stock. If you are shopping late, be flexible: a different shade of ribbon or a different ornament shape will still work if it fits your overall palette.
How do I make dollar store decor look expensive?
Repeat a small palette through the whole house, pair every shiny piece with matte textures like wood, linen, greenery, or kraft paper, and edit ruthlessly. A few well-placed pieces in matching colors will always look more expensive than a house full of unrelated bargains. Finish with the details that cost nothing: crisp gift wrap, fluffed bows, straight garlands, and clean surfaces around your displays.
Can I decorate a whole house with dollar store finds?
Yes, especially if you mix them with pieces you already own. Dollar store finds are best for volume: ornaments, garlands, ribbon, wrapping, and table dressing. Your existing furniture, textiles, plants, and keepsakes provide the quality and personality. The combination of new budget pieces and familiar pieces you love is what makes a home feel decorated rather than staged.
What should I avoid buying at the dollar store?
Avoid anything that looks or feels unsafe, such as damaged lights, cracked glass, or candles in thin containers, and avoid buying large quantities of a style you have not tested at home. Buy one piece first, live with it for a day, and check how it looks in your light and next to your furniture. Also avoid buying purely because something is cheap: if it does not fit your palette or your rooms, it is not a bargain, it is clutter you will have to store in January.
Final Thoughts
A beautiful Christmas home is not about how much you spend. It is about a clear palette, a little patience, and the willingness to edit. Start with one room, use these 25 dollar store Christmas decor ideas as a menu rather than a checklist, and pick the ones that suit your home, your family, and your budget. Pair shine with matte texture, buy early while stock lasts, and save what works for next year. Done that way, even the simplest dollar store find can look like it belongs in a home you are proud to welcome people into, all season long.