Thanksgiving dinner gets all the attention, but ask any guest what they remember most and the answer is almost always dessert. The pie table is where people linger, where second helpings happen, and where the evening slows down into coffee, conversation, and one more sliver of pumpkin pie. A dessert table deserves the same care as the dinner table — not because it needs to look like a magazine shoot, but because a little planning makes serving easier, keeps the flow moving, and turns a row of store-bought pies into a display worth gathering around.
The good news is that a beautiful Thanksgiving dessert table is mostly about height, balance, and a few thoughtful details. You do not need expensive serving pieces or professional styling skills. A sturdy cake stand, a couple of wooden boards, some candles, and a handful of seasonal touches will carry the whole display. The ideas below focus on the dessert table itself — how to arrange it, what to serve on it, and how to style it so it looks generous and inviting without turning into a cluttered mess.
Below are 25 Thanksgiving dessert table decor ideas built for real American homes and real Thanksgiving gatherings, from small family dinners to big Friendsgiving crowds. Each one includes practical tips on serving, layout, and timing, so your dessert table works as well as it looks.
1. Build the Table Around One Showstopper Dessert
Every great dessert table has a star, and giving it a place of honor makes the whole display feel intentional. Choose one dessert to anchor the table — a tall layer cake, a beautiful lattice-topped pie, or a dramatic trifle in a glass bowl — and set it in the center or slightly off-center at the back of the table. Everything else arranges itself around it, which instantly solves the “where do I start” problem.
Raise the showstopper above the rest of the table on a sturdy cake stand or a stack of books wrapped in linen. Height draws the eye, and it also signals to guests that this is the dessert to try first. Keep the area around it clear so people can see it from across the room and so you can cut and serve without knocking into neighboring dishes.
2. Use Tiered Stands to Create Instant Height
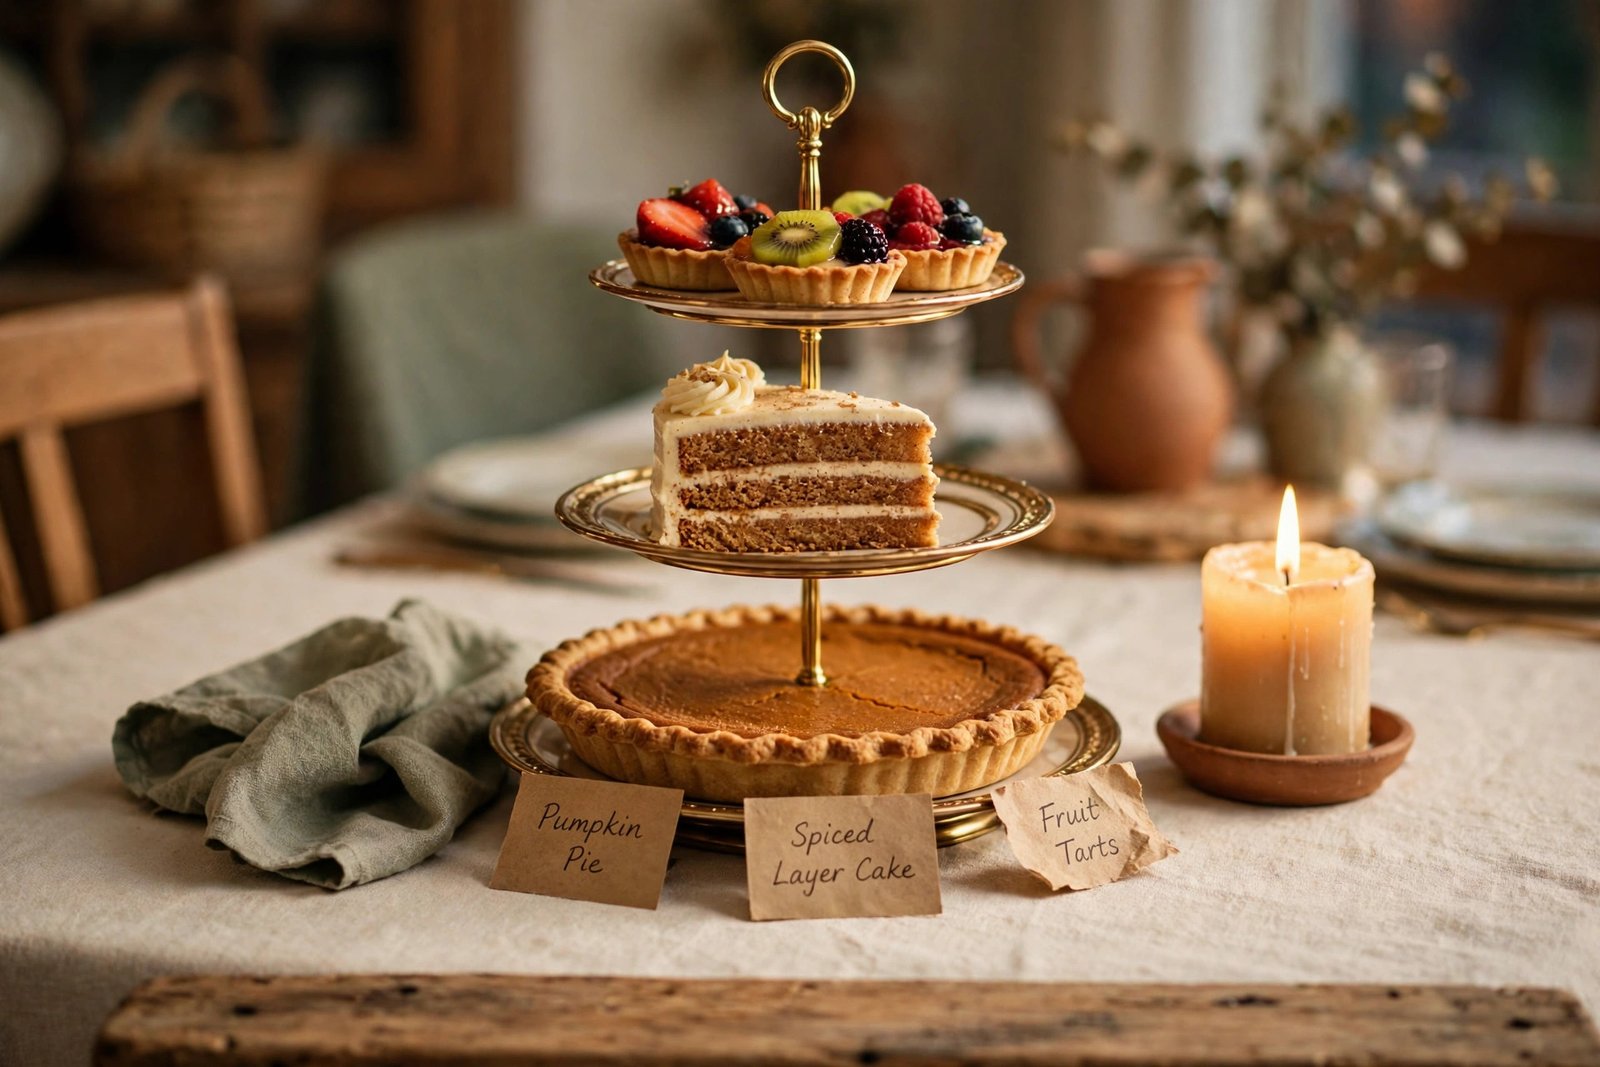
Tiered stands are the single easiest way to make a dessert table look full and professional. A two- or three-tier stand takes up the footprint of one plate but holds three times the desserts, and the vertical shape adds the height that flat tables desperately need. Use them for anything small: mini pies, cookies, brownie bites, chocolate truffles, or slices of pound cake.
Mix sizes on each tier so the stand does not look flat. Put larger items on the bottom tier, medium items in the middle, and the smallest, prettiest bites on top. Leave a little space between pieces rather than cramming every inch — guests need room to pick things up without toppling the neighbors, and a little breathing room makes each dessert look more appealing.
3. Set Up a Dedicated Pie Station
Pie is the heart of Thanksgiving dessert, so give it its own zone on the table. Group your pies together on one side or in the center, each on its own stand or board, with a pie server resting beside each one. Guests should be able to see every flavor at a glance — pumpkin, pecan, apple, and whatever else you baked — without hunting through a crowd of other desserts.
Label each pie with a small card tucked in front of it. A simple handwritten tag — “Pumpkin,” “Pecan,” “Apple Crisp” — saves you from answering the same question twenty times and helps guests with allergies or preferences choose quickly. If a pie contains nuts, note that on the card; it is a small kindness that matters a lot to someone with an allergy.
4. Mix Heights With Cake Stands, Crates, and Boards
A dessert table where everything sits at the same level looks flat and forgettable, no matter how good the desserts are. The fix is simple: vary the heights. Use cake stands for pies and cakes, wooden crates or sturdy boxes draped in linen for a middle level, and flat boards or platters for cookies and bars at table level. Three levels across the table create a gentle wave that the eye follows naturally.
You do not need to buy special risers. An overturned wooden crate, a stack of two or three hardcover books, or a thick cutting board on top of a folded towel all work as risers, as long as they are stable and level. Cover anything that is not food-safe with a clean linen napkin or a piece of parchment before setting a plate on it.
5. Style a Mini Dessert Tier for Easy Grazing
Not every guest wants a full slice of pie after a big Thanksgiving meal. A tier of mini desserts — tartlets, shooters, brownie bites, and mini cheesecakes — lets people graze, try several flavors, and come back for more without committing to a whole slice. Mini desserts are also the easiest way to make a table look abundant, because small pieces fill a stand quickly.
Serve minis in small paper cups or on a lined tray so guests can pick them up without a plate if they prefer. Keep flavors varied: one chocolate, one fruit, one creamy, and one crunchy option covers most tastes. If you are short on time, buy a few high-quality minis from a local bakery and mix them with one or two homemade items — nobody will know, and the table will still look generous.
6. Create a Pumpkin Pie Bar With Toppings
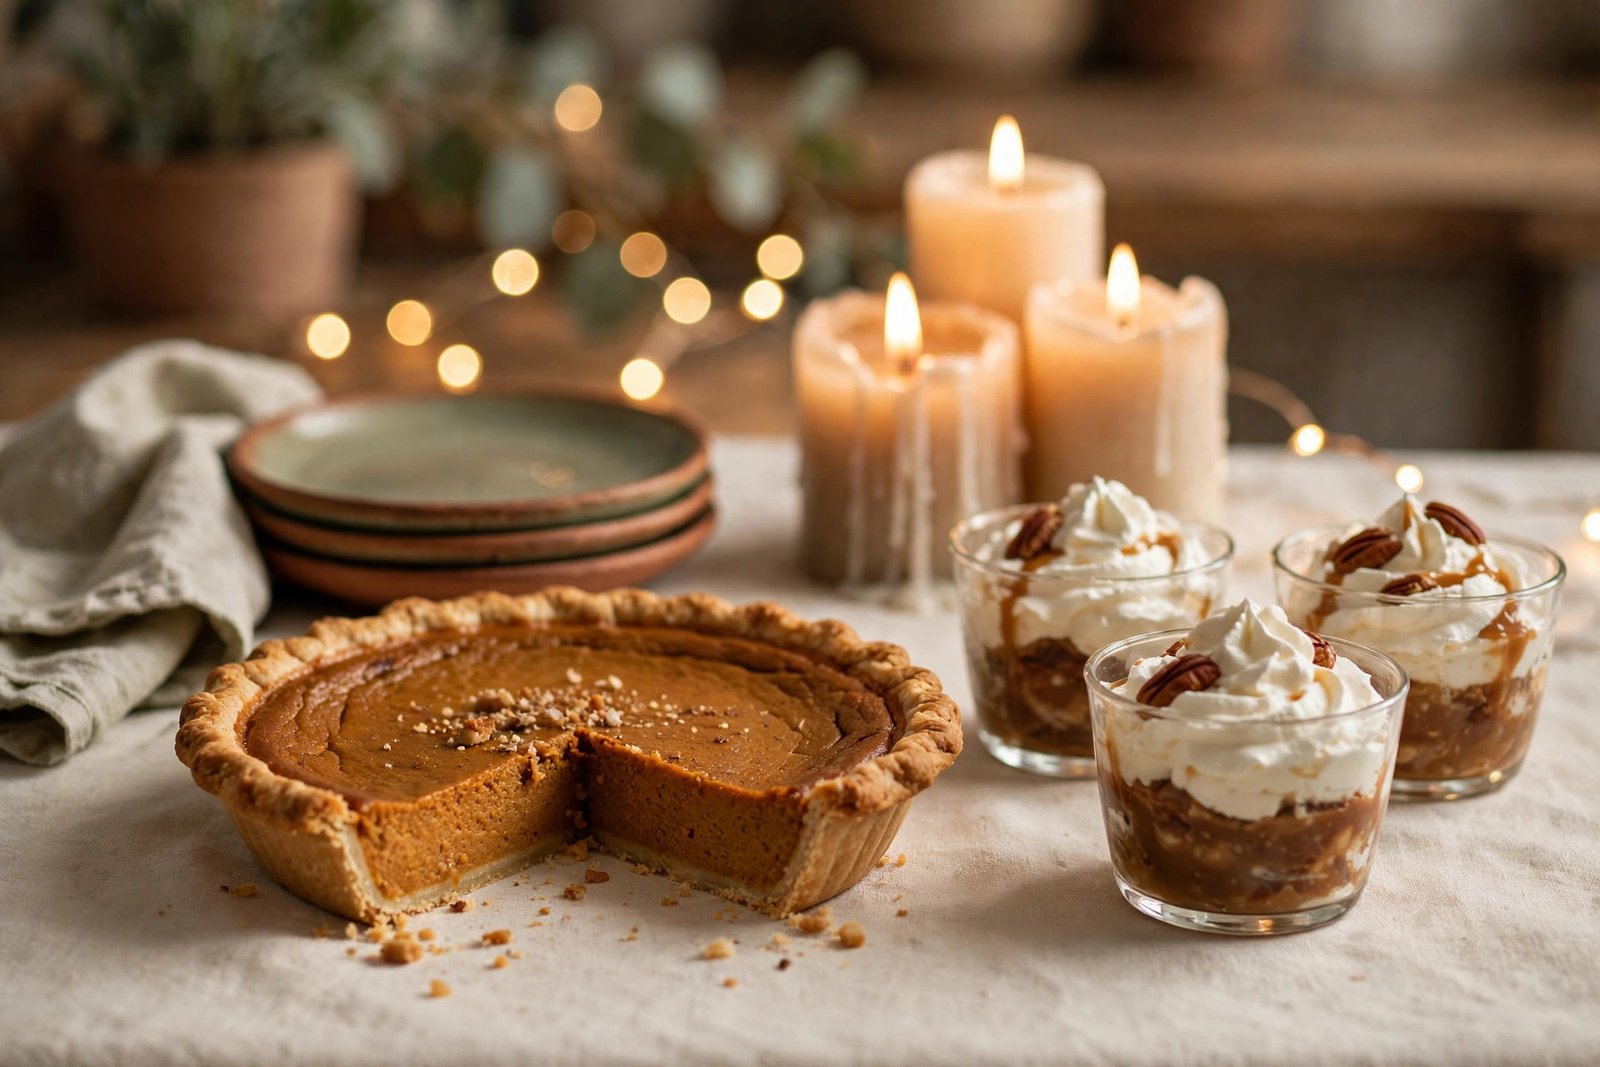
A toppings bar turns plain pumpkin pie into an interactive experience, and guests love customizing their slice. Set out a whole pumpkin pie (or two) sliced and ready, then arrange toppings in small bowls alongside: whipped cream, caramel sauce, toasted pecans, candied ginger, and a shaker of cinnamon sugar. A small spoon in each bowl keeps things tidy.
Keep the toppings bar compact — five or six small bowls on a tray or board is plenty. Too many choices slow the line down and create clutter. Put the bowls on a tray with raised edges so a spilled spoonful of caramel does not travel across the whole table, and keep a few damp cloths nearby for quick wipe-ups.
7. Dedicate a Corner to Chocolate Desserts
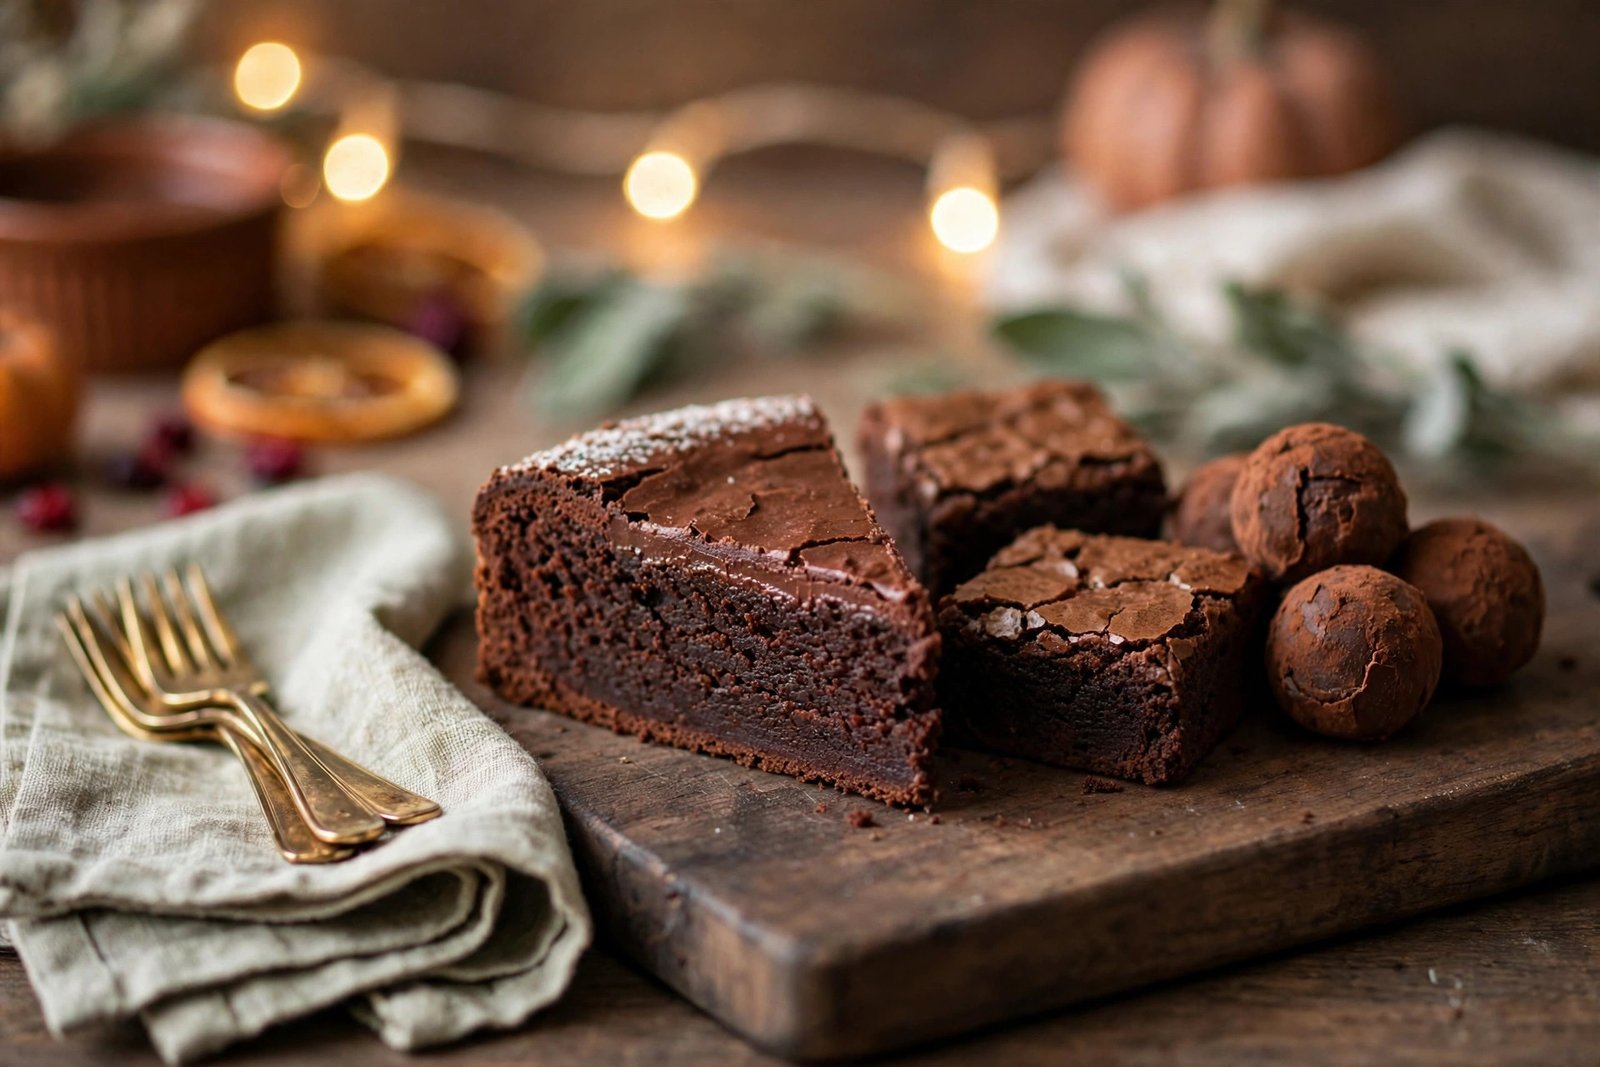
After a table full of pumpkin, apple, and pecan, chocolate feels like a delicious plot twist. Dedicate one corner of the dessert table to chocolate: a flourless chocolate cake, a tray of brownies, chocolate-dipped pretzels, or a bowl of truffles. Grouping chocolate together keeps its rich flavors from overwhelming the fruit pies, and it gives chocolate lovers a clear destination.
Use a dark board or a dark linen cloth under the chocolate corner to set it apart visually from the rest of the table. The contrast makes the corner read as its own little station, even on a shared table. A few chocolate curls or a dusting of cocoa on the cake adds a finishing touch that costs nothing but looks intentional.
8. Build an Apple Dessert Station for the Orchard Crowd
Apple desserts deserve their own moment at Thanksgiving. An apple station — apple pie, apple crisp in a baking dish, caramel apple slices, or cider donuts — appeals to guests who find pumpkin pie too rich and gives the table a second fruit anchor. Arrange the apple desserts together with a small bowl of caramel sauce for dipping.
Style the station with a few whole apples as decoration: a small pile of red and green apples in a wooden bowl looks seasonal and costs almost nothing. Add a couple of cinnamon sticks tied with twine beside the bowl for a rustic touch. Real fruit as decor doubles as extra snacks for kids, which is never a bad thing.
9. Serve Desserts in Individual Cups and Jars
Individual dessert cups — pumpkin mousse, chocolate pudding, cranberry parfait, or trifle layers in small jars — solve three problems at once: portion control, easy serving, and no cutting or plating required. Guests grab a cup and a spoon and they are done, which keeps the dessert line moving fast even with a big crowd.
Line the cups up in neat rows on a tray or board, alternating flavors so the display looks colorful. Clear cups or small mason jars show off the layers, which is half the appeal — a pumpkin mousse with a whipped cream top and a sprinkle of gingersnap crumbs looks beautiful through glass. Make the cups a day ahead and chill them, then set them out just before dessert time.
10. Lay Out a Cookie Board for Late-Night Snacking
A cookie board is the dessert table’s best friend after the pies are gone. Arrange an assortment of cookies — gingerbread, snickerdoodles, shortbread, and a few chocolate chip — on a large wooden board, overlapping them slightly like shingles. The board format looks generous and invites grazing, which is exactly what a cookie display should do.
Mix shapes and colors: round snickerdoodles next to star-shaped shortbread, dark gingerbread beside pale sugar cookies. The variety makes the board look abundant even if you only baked three kinds. Tuck a few small sprigs of rosemary or a scattering of cranberries into the gaps for color, but keep greenery away from the cookies themselves so no loose needles end up in a bite.
A cookie board also solves the late-night problem. Long after the pies are sliced and the cake is gone, guests wander back to the kitchen for one more cookie with coffee. Keep the board out all evening and refill it once from a backup tin in the pantry. If you want more ideas for dressing the room around the dessert table, these Thanksgiving living room decor ideas show how to carry the same warm, harvest style into the space where guests gather after dinner.
11. Add Cake Pops and Petit Fours for a Pretty Finish
Cake pops and petit fours are the jewelry of a dessert table: small, colorful, and instantly eye-catching. A bouquet of cake pops standing in a jar or a foam block wrapped in paper looks like a centerpiece all on its own, and petit fours in autumn colors — burnt orange, deep red, sage — add jewel tones to a table that might otherwise be all brown and cream.
Stand cake pops upright in a sturdy container so they read as a display, not a pile. A mason jar filled with dried beans or rice holds the sticks firmly and hides the mechanics. Keep the pops away from the edge of the table, since they are top-heavy and easy to knock over in a crowded room.
12. Garnish With Fresh Cranberries and Citrus
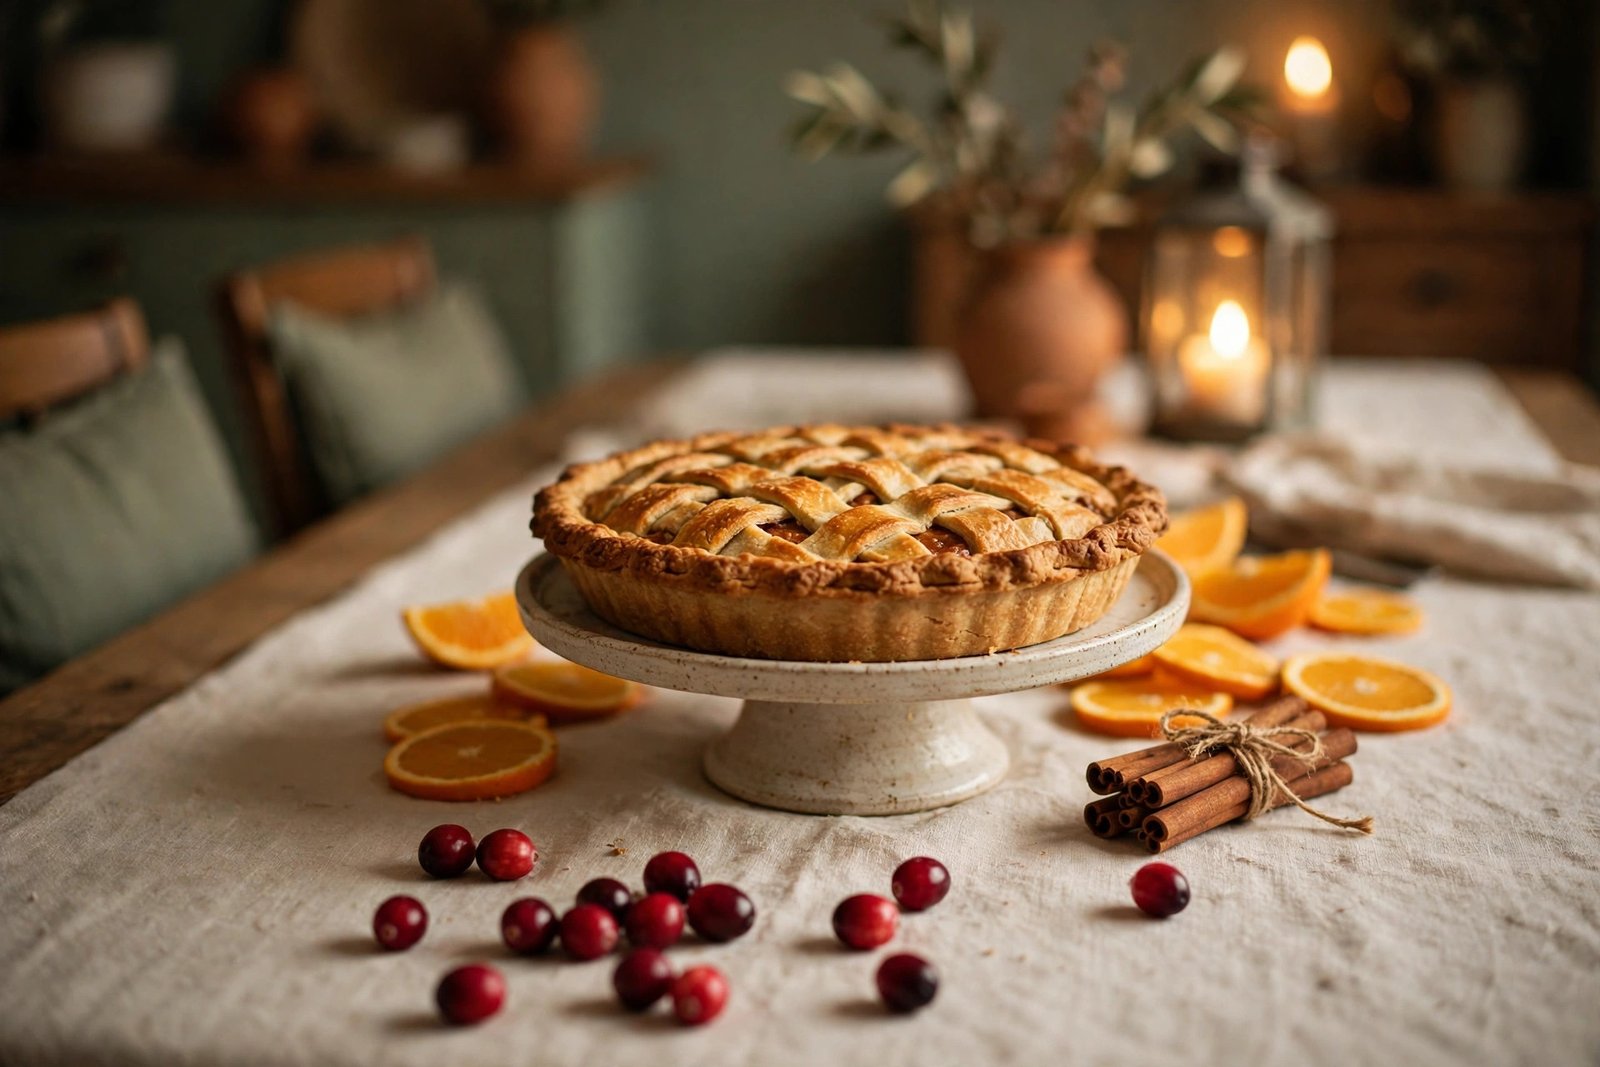
Fresh cranberries and citrus slices are the cheapest, most effective dessert-table garnish you can buy. Scatter a handful of fresh cranberries around cake stands, tuck orange slices beside a pie, or fill a small bowl with cranberries and float a few in water with a candle. The deep red and bright orange pop against cream linens and wooden boards, and they instantly say Thanksgiving.
Use garnishes as decoration only, and keep them separate from the food where confusion is possible. A small cluster of cranberries beside a cake plate is clearly decor; cranberries scattered directly onto a frosted cake might get eaten by accident. If you want an edible garnish, candied cranberries or sugared rosemary sprigs are beautiful and safe to eat.
13. Mix Vintage and New Cake Stands for Character
A dessert table styled entirely with matching stands can look like a rental display. Mixing vintage and new pieces — a milk-glass stand from a thrift store, a modern marble board, a wooden pedestal — gives the table personality and makes it feel collected over time rather than bought in one trip. The mix is the charm.
Keep one element consistent so the mix reads as intentional: use the same color family, the same height range, or the same material in at least two pieces. For example, pair a white milk-glass stand with a white ceramic plate on a wooden riser — the white ties them together even though the pieces are different. Avoid mixing wildly different styles in equal measure, which can read as clutter.
14. Create a Backdrop With Garland and a Simple Banner
The wall behind the dessert table is prime decorating real estate, and a simple backdrop makes the whole display photograph beautifully. Hang a garland — faux eucalyptus, dried leaves, or a simple pine garland — along the wall above the table, and add a short banner that says something simple like “Give Thanks” or “Dessert.” Keep the banner high enough that it does not block anyone’s view of the desserts.
Use lightweight, removable hooks to hang the backdrop, and test the placement before the party. Stand where guests will stand and check that the garland frames the table rather than hanging into it. A garland that droops onto the cake is worse than no garland at all.
If your dessert table sits against a window, skip the banner and let the view do the work — hang the garland around the window frame instead. In the evening, the window goes dark and the garland silhouettes beautifully against it, especially with candles on the table below. For the table your guests eat at before dessert, these Thanksgiving table decor ideas cover the main dinner setting, while this article focuses on the dessert display that follows it.
15. Pair a Hot Cocoa Station With the Desserts
A hot cocoa station beside the dessert table turns dessert into a full experience. Set out a slow cooker of hot cocoa or a large pot kept warm on low, with mugs, marshmallows, whipped cream, and a few stir-in extras like cinnamon sticks and chocolate shavings. Guests who do not want coffee get a warm drink, and cocoa pairs beautifully with cookies and brownies.
Keep the cocoa station slightly separate from the desserts — at the end of the table or on a side surface — so the drink line does not block the dessert line. Put the mugs at the start of the station, the cocoa next, and the toppings last, in the order guests will use them. A small ladle or a slow cooker with a spigot keeps pouring tidy.
16. Showcase Cheesecake With a Toppings Bar
Cheesecake is a Thanksgiving sleeper hit — rich, make-ahead friendly, and a welcome change from pie. Showcase a plain or pumpkin cheesecake on a pedestal stand, and surround it with small bowls of toppings: cherry or cranberry compote, caramel sauce, chocolate ganache, and toasted nuts. Guests build their own slice, which makes a single cheesecake feel like several desserts.
Keep the cheesecake chilled until dessert time, and slice it with a hot, dry knife for clean cuts — dip the knife in hot water, wipe it dry, and cut. Wipe between slices. It takes an extra minute and the difference in presentation is dramatic: clean edges instead of smeared filling.
17. Carve Out a Pecan and Nut Dessert Corner
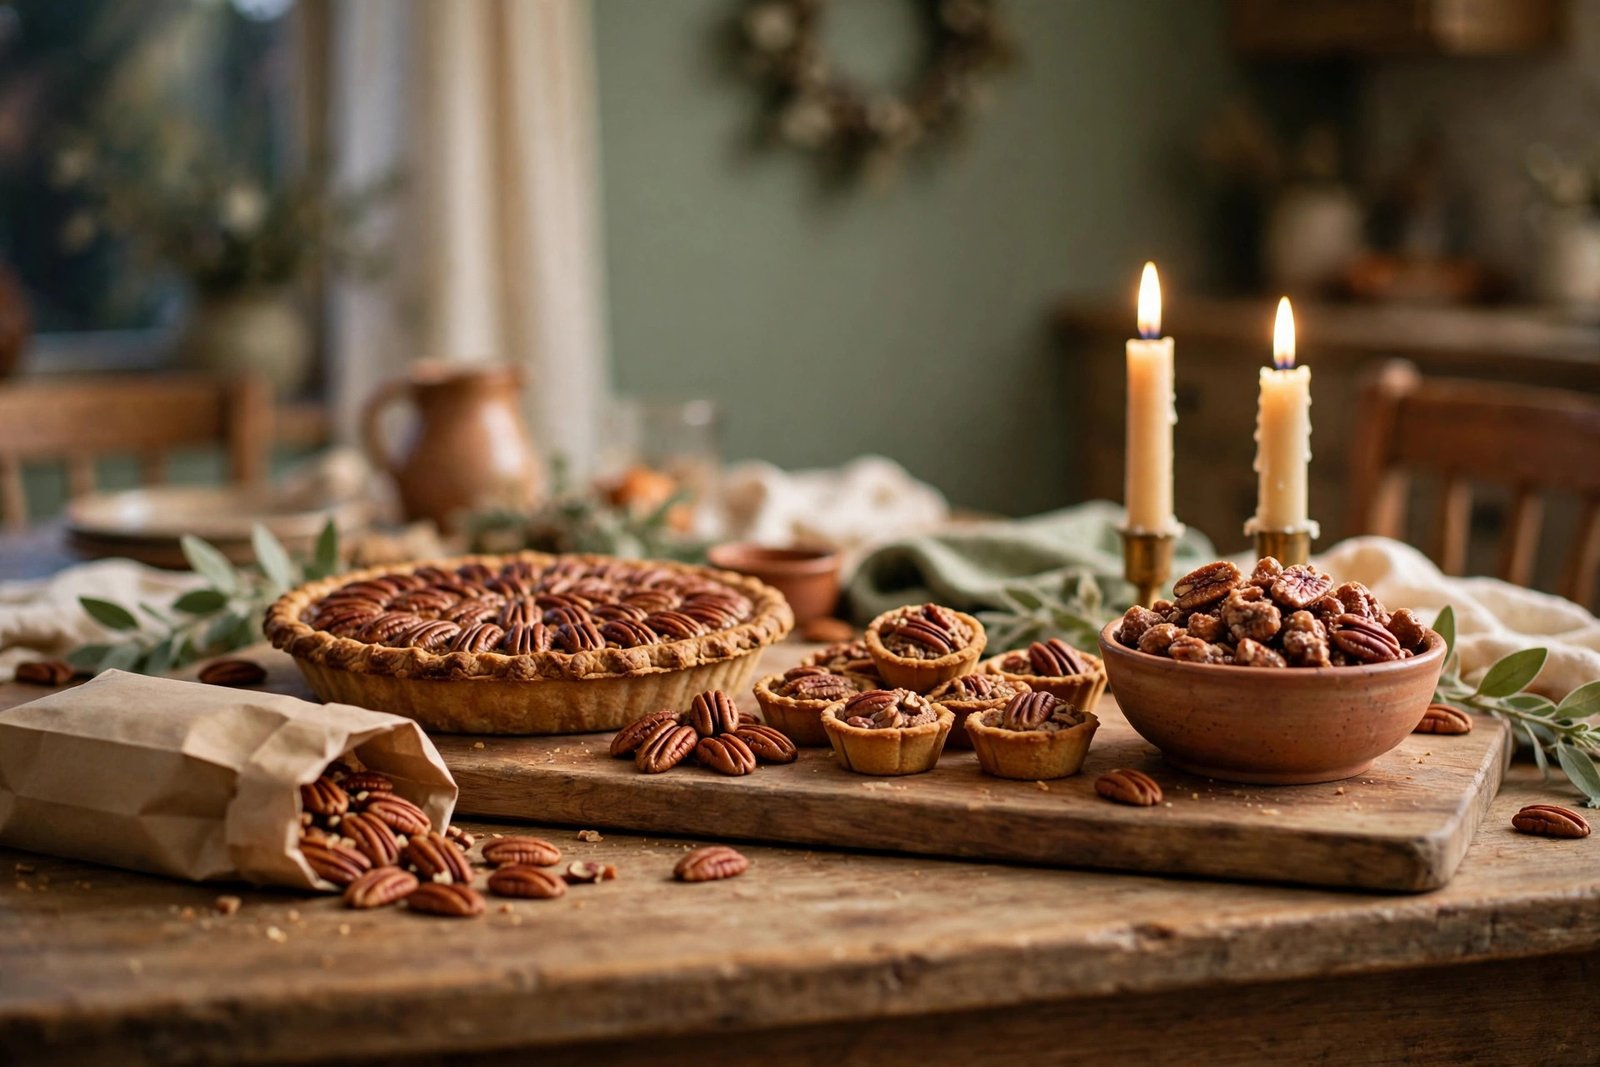
Pecan pie is a Thanksgiving classic, but nut desserts deserve a corner of their own beyond a single pie. Group pecan pie with a few nut-based extras — pecan tassies, walnut brownies, or a bowl of candied mixed nuts — and you have a station that nut lovers will flock to. Keep the nut corner together and clearly labeled, which also helps guests with nut allergies avoid it easily.
Use a wooden board or a dark tray to ground the corner visually, and add a small sign or card that says “Contains Nuts.” That one label is both a welcome sign and a safety note, and it saves guests from having to ask about every item. Place the nut corner at one end of the table so guests who avoid nuts can serve themselves from the other end without crossing it.
18. Lower One Section for Kids
Kids experience a dessert table very differently from adults — mostly, they cannot see it or reach it. Lower one section of the table for children: set a small tray of kid-friendly desserts on a lower surface, a sturdy step stool beside the table, or a separate small table at kid height. Fill it with cookies, mini cupcakes, and a few pieces of cut-up cake they can manage without a knife.
Keep the kids’ section simple and sturdy. Use unbreakable plates, small cups, and desserts that survive being carried with one hand. Avoid anything with a loose topping that will end up on the floor, and skip desserts with nuts in the kids’ section unless you know every child’s allergies.
19. Use Wooden Crates and Rustic Risers for a Farmhouse Feel
Wooden crates, sliced-log boards, and rustic risers give a dessert table instant farmhouse warmth. Stack crates on their sides to create shelves, set a pie on a thick wooden board, or use a short crate as a riser under a cake stand. The wood tones pair naturally with pumpkin pie, autumn leaves, and cream linens.
Line any crate that touches food with parchment or a clean cloth, since raw wood is not food-safe and can splinter. Check crates for loose nails or rough edges before the party, and sand down anything sharp. A quick wipe with a damp cloth removes dust from storage.
20. Go Elegant With a White and Gold Dessert Table
If your Thanksgiving style leans elegant rather than rustic, a white and gold dessert table is a stunning choice. Use white cake stands, gold-rimmed plates, a cream linen runner, and gold candle holders. The palette lets the desserts themselves provide the color — the orange of pumpkin pie, the deep red of cranberry, the brown of chocolate — against a calm, luxurious background.
Keep the gold accents restrained: a few candle holders, a gold-rimmed cake stand, and maybe a thin gold ribbon tied around a jar. Too much gold quickly looks gaudy, especially under warm light. The rule is simple — if you have to wonder whether it is too much gold, it probably is.
21. Label Every Dessert With Handwritten Cards
Handwritten labels are the smallest detail with the biggest payoff on a dessert table. A simple folded card in front of each dessert tells guests what it is, who made it, and whether it contains common allergens. It also stops the constant “what is this?” questions and lets guests with dietary needs serve themselves confidently.
Keep the cards consistent: same size, same pen, same style of writing. Small kraft cards with a simple fold stand up on their own and look charming against any table style. Write the dessert name large and any allergen note smaller underneath — “Pumpkin Pie (contains dairy, wheat)” is all it takes.
Make the cards ahead of time, not during the party rush. Write them while the desserts are baking or cooling, and set them aside with the serving dish they belong to. If a dessert changes at the last minute, a fresh card takes thirty seconds to write and saves a dozen questions later. A centerpiece that anchors the whole dessert display is covered in these Thanksgiving centerpiece ideas, which pair well with a clearly labeled dessert table.
22. Light the Table With Candles and String Lights
Lighting is what turns a dessert table from a serving station into a scene. A few pillar candles in glass hurricanes, a strand of warm fairy lights woven along the back of the table, or a row of small votives creates a glow that makes every dessert look more delicious. Warm light — around 2700K — flatters food in a way that overhead ceiling lights never do.
Use flameless candles if children or pets will be near the table, or if the table sits under a garland or banner. Real candles are beautiful but need supervision, and a dessert table is exactly the kind of busy, crowded spot where a sleeve can catch a flame. If you use real candles, keep them in sturdy holders, away from paper banners and loose fabric, and never leave them burning unattended.
23. Add a Take-Home Favor Station for Leftovers
Thanksgiving always produces leftover dessert, and a take-home station turns that into a gift. Set out small boxes, bakery bags, or lidded containers near the end of the dessert table, along with a stack of labels and a pen. Guests pack a slice or two to take home, and you wake up to a manageable fridge instead of a mountain of pie.
Keep the favor station simple: one size of box or bag, a few tissue sheets, and a marker. Pre-folding the boxes saves time, and a small sign that says “Take a slice home!” invites guests to help themselves without feeling awkward. This is also a gracious move for guests who could not eat dessert at the party — they still leave with something sweet.
24. Finish With Seasonal Fruit and Foliage
When the desserts are arranged and the labels are in place, the final layer is seasonal fruit and foliage. A few sprigs of eucalyptus tucked behind a cake stand, a small bunch of grapes draped beside a pie, or a scattering of autumn leaves (clean, food-safe faux leaves work best near food) along the table edge adds the finishing touch that makes the display feel complete.
Keep foliage behind or beside the food, never on top of it, and use only clean, dry greenery. Fresh eucalyptus and rosemary are safe choices; avoid anything treated, sprayed, or shedding. If you are unsure whether a plant is food-safe, keep it on the table runner rather than on a serving plate.
25. Do a Final Styling Pass Before Guests Arrive
The last step is a five-minute styling pass, done after everything is on the table and before the first guest walks in. Walk around the table and check it from every side guests will see: Are all the labels facing forward? Is any dessert hidden behind a taller stand? Are the plates, forks, and napkins easy to reach? Is there a clear path for serving that does not force anyone to reach across the table?
Fix the small things now: straighten a crooked card, wipe a drip of caramel off a stand, refill a bowl that looks half-empty, and move one dessert forward so it is not hiding. Take a quick photo of the finished table — it helps you spot problems your eyes miss in person, like a dark corner or a cluttered section, and it gives you a record of a display you can recreate next year.
Products to Consider
These generic item types cover almost everything in the ideas above, with no need for specialty purchases:
- Tiered dessert stands, two or three tiers
- Sturdy cake stands in glass, ceramic, or wood
- Wooden boards, crates, and risers for varied heights
- Small dessert plates, forks, and pie servers
- Handwritten dessert labels or small kraft place cards
- Warm-white fairy lights and flameless pillar candles
- Cream linen runners and napkins
- Small bowls and jars for toppings, sauces, and individual desserts
- Bakery boxes or bags for take-home favors
- Fresh cranberries, citrus, and seasonal greenery for garnish
Frequently Asked Questions
How many desserts should I serve at Thanksgiving?
For most gatherings, three to five desserts cover everyone: one pumpkin pie, one fruit dessert like apple pie or crisp, one chocolate option, and a lighter choice such as cookies or fruit. More than five desserts overwhelms the table and leaves too many leftovers, while fewer than three can feel thin for a big crowd. Mini desserts count as one category, not one dessert each.
How do I keep a dessert table from looking cluttered?
Limit the table to one dessert per stand or board, vary the heights, and leave breathing room between pieces. Group similar desserts together, label everything, and keep serving utensils, plates, and napkins in one tidy zone at the end of the table. If the table still looks crowded, remove one item — a dessert table with a little space always looks more generous than one packed edge to edge.
Can I set up the dessert table before dinner?
Yes, with a few precautions. Set out the stands, linens, labels, and non-perishable items like cookies and garnish before dinner, but keep perishable desserts — cream pies, cheesecake, whipped cream — refrigerated until dessert time. Cover the display with a clean tea towel to protect it during dinner, and bring out the cold items just before serving.
What is the difference between a dessert table and a Thanksgiving table centerpiece?
A Thanksgiving table centerpiece decorates the dinner table where guests eat their meal, while a dessert table is a separate display devoted entirely to sweets, usually set up on a sideboard, console, or second table. The centerpiece is about the meal; the dessert table is about the sweet finish that follows it, with its own serving pieces, labels, and layout.
When should I put out the dessert table?
Most hosts set out the full dessert display as dinner plates are cleared, about 30 to 45 minutes before dessert is served. Setting it out earlier lets guests admire it during dinner, but perishable items and chocolate suffer in a warm room. A good compromise is to style the table before dinner and bring out the desserts themselves once the main course is finished.
Final Thoughts
A Thanksgiving dessert table does not need to be elaborate to be memorable. A few well-chosen stands, a mix of heights, clear labels, and warm light are enough to turn a collection of pies and cookies into a display guests gather around. The best dessert tables feel generous without feeling fussy — every dessert visible, every flavor labeled, and plenty of room for people to serve themselves and come back for more.
Start with the ideas that solve your biggest problems: a tiered stand if your table is flat, labels if guests always ask what things are, and a toppings bar if you want dessert to feel interactive. Add the styling touches — cranberries, candles, a simple banner — once the practical side is handled. And remember that the sweetest part of the dessert table is not the display at all. It is the moment after dinner when everyone drifts over with a plate and a cup of coffee, and the evening slows down into exactly the kind of togetherness Thanksgiving is for. If you are also dressing the front of your home for the holiday, these Thanksgiving porch decor ideas help you carry the same welcoming warmth from the doorstep to the dessert table.