
Halloween is ten days away — it lands on Saturday, October 31 this year — and your porch is still wearing its everyday face. Deep breath: you do not need a haunted-house renovation, a craft-store marathon, or a single weekend lost to papier-mâché. You need an hour, a few things you already own, and one smart store trip at most.
This list was built for exactly that situation. Every idea below is a genuine last-minute project: under thirty minutes to set up (a couple stretch to an hour, and they say so up front), no specialty tools, and nothing that requires artistic talent you do not have. Many of them use daylight-friendly tricks, because the 31st falls on a Saturday this year and trick-or-treaters will be ringing your bell in broad daylight as well as after dark. We have leaned hard into battery-operated everything — flameless candles instead of real flames near dry leaves, cords taped flat where little feet will run — so the whole thing is as safe as it is fast.
Pick three or four favorites, pour yourself some cider, and let us get your home party-ready before the weekend.
1. Swap Your Porch Bulb (and String the Railing)
The fastest Halloween transformation in existence takes about ten minutes and one light bulb. Unscrew your ordinary porch bulb and replace it with an amber or orange LED, then drape a strand of orange string lights along the porch railing or around the doorframe. That is the entire project — but the effect is enormous. Warm orange light turns an ordinary entryway into something cinematic after dark, and because you have simply changed the bulb, your house reads “Halloween” from the street without a single prop in sight.
Daylight matters more than ever this year, since October 31 is a Saturday and plenty of families start early. String lights look charming in daylight too — the bulbs themselves read as decoration — so this project earns its keep from afternoon through evening. If you want a second layer, hang two or three of the lights’ clips from a low branch or shepherd’s hook near the walkway so visitors pass under a little tunnel of glow.
US tip: Check your fixture’s max wattage before swapping bulbs, and use an LED rated for enclosed or outdoor fixtures if yours is covered. Keep any extension cord for the string lights taped flat across the walkway with gaffer tape so trick-or-treaters do not trip — cords should run along the edge of the path, never across it. For a bigger outdoor game plan once this quick win is in, our guide to outdoor Halloween decoration has porch-to-yard ideas that layer beautifully over this foundation.
2. Line the Walkway With Paper-Bag Luminaries
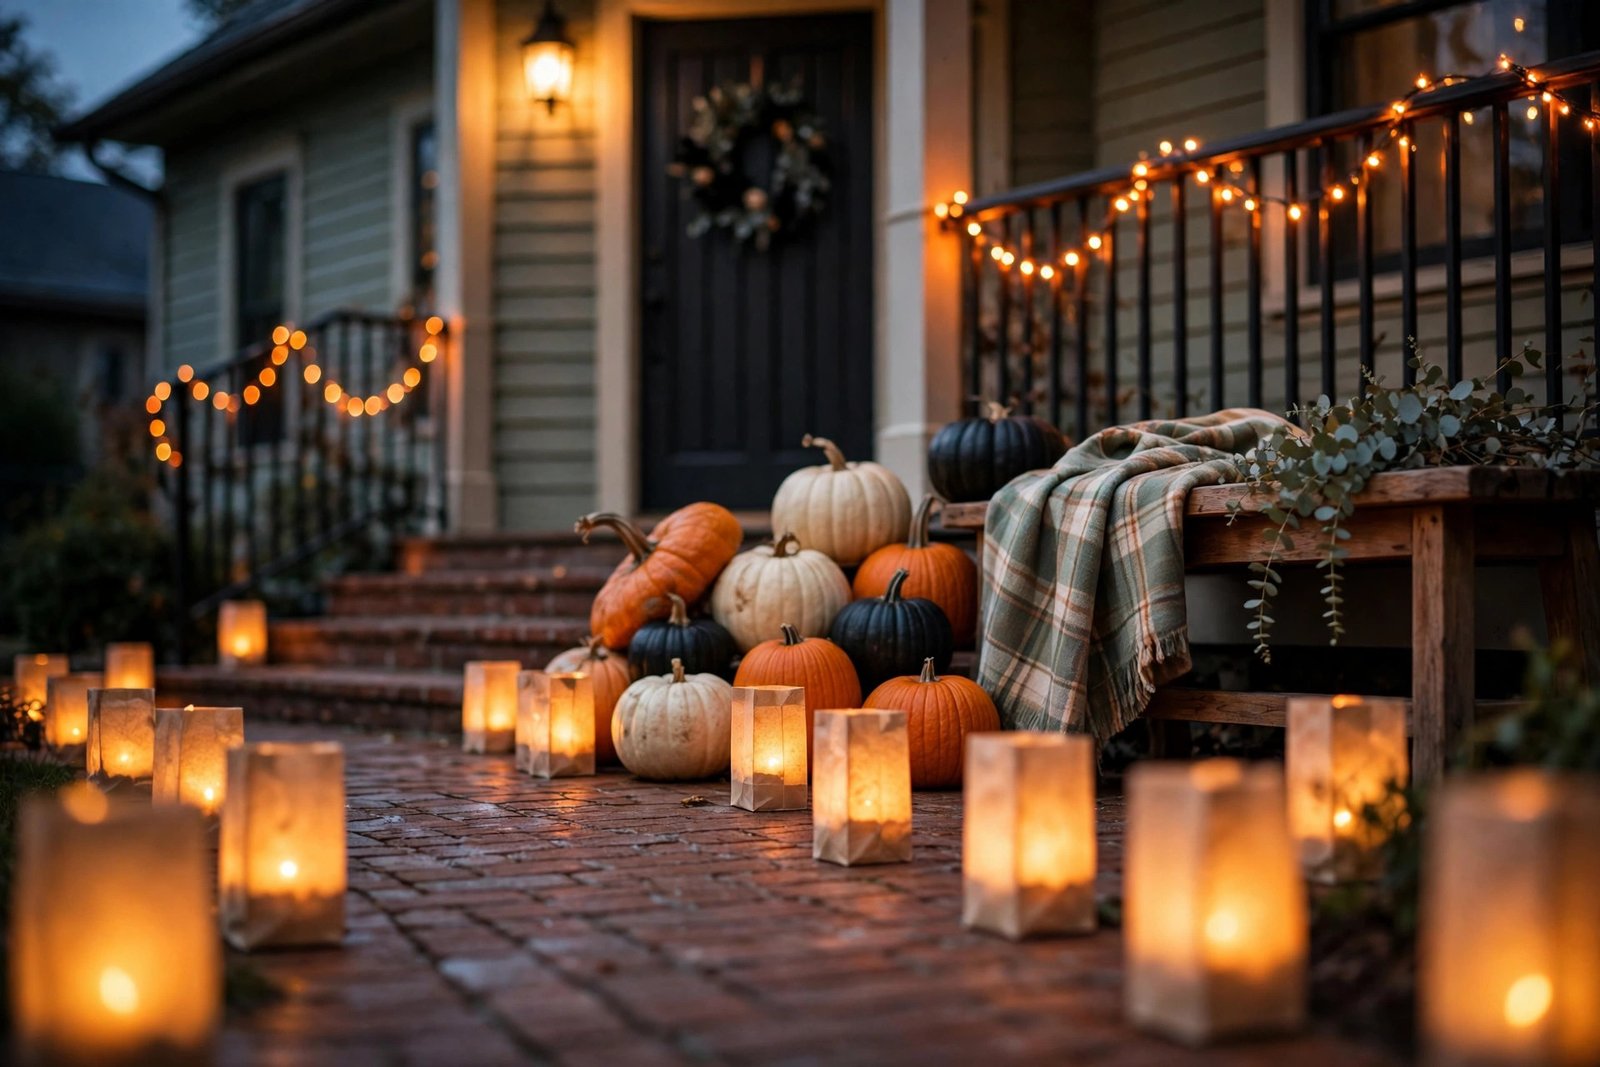
Few things look as magical for as little money as a row of glowing paper bags. Take plain brown kraft lunch bags, fold the top edge down about two inches for stability, drop a battery-operated tea light into each one, and line them along both sides of your front walkway or steps. In daylight they look like simple kraft sacks; at dusk they glow like a row of lanterns guiding visitors to your door.
The whole project takes under thirty minutes for a dozen bags, and the supplies cost almost nothing — most American households already have the bags, and a multi-pack of flameless tea lights from any big-box store will last you through several Halloweens. For a sturdier version that survives a breezy October evening, put a scoop of sand or kitty litter in the bottom of each bag before adding the light. If rain is in the forecast, swap the paper bags for white plastic buckets or frosted plastic cups — same glow, zero sogginess.
US tip: Always use flameless LED tea lights in paper bags, never real candles — paper and open flame are a genuine fire risk, especially with dry October leaves drifting around. Space the bags at least a foot apart so small hands and costumes cannot knock two together, and bring them inside if winds pick up.
3. Throw Cheesecloth Over Everything
If you buy one thing on your single store trip, make it a few yards of white or black cheesecloth from the fabric or craft aisle. Drape it loosely over bushes, railings, a bookshelf, or the back of the couch, pulling and tearing it slightly as you go — and congratulations, you have instant haunted-house atmosphere. Cheesecloth’s open weave catches light and shadow in a way that reads “abandoned mansion” with zero skill required.
The trick is to let it look accidental. Toss it, do not arrange it. Let one corner trail on the porch floor, let a strip snag on a branch and flutter. Indoors, a length of black cheesecloth thrown over a curtain rod or mantel and weighted with a couple of books turns an ordinary shelf into a vignette. Pair it with the warm glow of your string lights and the fabric practically glows.
US tip: Keep cheesecloth away from real flames and hot bulbs — it is extremely flammable, which is another reason this whole list runs on battery lights. Outdoors, secure draped cloth with a few discreet clothespins or garden staples so an October gust does not send it into the street.
4. Paint Pumpkins Instead of Carving Them
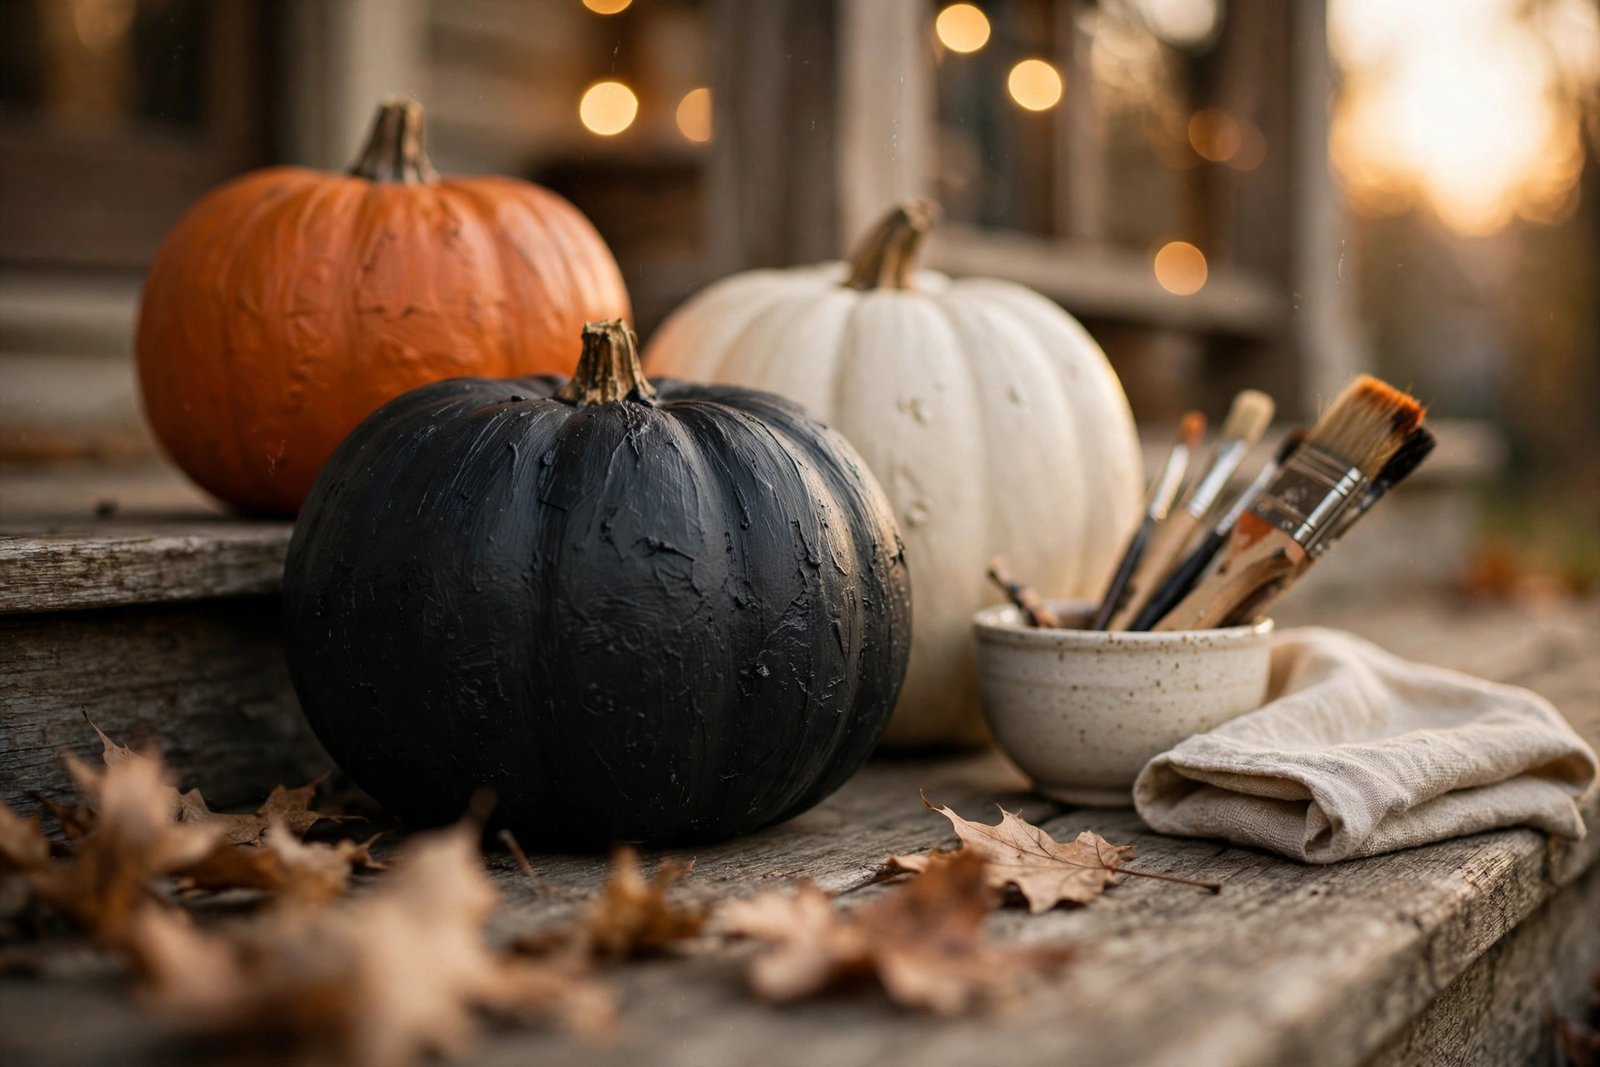
Carving takes an hour, makes a mess, and leaves you with a pumpkin that collapses by the 28th. Painting takes twenty minutes, zero knives, and pumpkins that look perfect straight through November. Grab whatever craft paint you have — matte black, cream, and burnt orange are the chic trio — and give each pumpkin a solid coat, or paint simple faces, stripes, or polka dots. Chalk paint adheres beautifully to pumpkin skin and dries fast.
This is also the family-friendly option: toddlers can sponge-paint a mini pumpkin with washable paint while older kids go detailed, and nobody handles anything sharp. Cluster your painted pumpkins in odd numbers on the steps — three or five looks intentional, two looks like an afterthought — mixing sizes for a collected feel. A cream pumpkin next to a matte black one next to a classic orange reads far more designed than a row of identical orange orbs.
US tip: Buy your pumpkins now rather than the week of Halloween — by the final weekend, US grocery and farm stands are often picked over, and prices spike. Store uncarved pumpkins in a cool spot out of direct sun and they will easily last past the 31st; painted ones transition straight into Thanksgiving decor.
5. Tape Black-Paper Silhouettes in the Windows
Here is a thirty-minute project with huge street impact: cut simple silhouettes — a witch on a broomstick, a perched cat, bare tree branches, a haunted house — from black construction paper or a black plastic tablecloth, and tape them to the inside of your front-facing windows. Backlit by your ordinary interior lamps in the evening, they read as glowing shadow scenes from the sidewalk.
You do not need to be artistic. Print free silhouette templates from the internet, trace, and cut — or go abstract with jagged branch shapes, which require nothing but zigzag scissors and confidence. Painter’s tape holds the shapes to the glass without residue, which renters will appreciate. For daylight hours, the silhouettes still read clearly from outside as bold black shapes, so they work double duty on a Saturday Halloween.
US tip: If you use a plastic tablecloth instead of paper, it will survive condensation on the glass far better on chilly October nights. Keep silhouettes away from hot incandescent bulbs inside the lamps — paper near a hot bulb is a fire hazard; LEDs run cool and solve the problem entirely.
6. Swap Your Pillow Covers for the Season
The ten-minute indoor transformation: pull Halloween-themed pillow covers over the throw pillows you already own. Pumpkin prints, black cats, simple “boo” lettering, or even just solid black and burnt orange covers — slipped over your existing inserts, they instantly seasonal-ize the sofa with zero storage headache afterward, since covers fold flat into a drawer on November 1st.
Style them like you mean it: mix one patterned cover with two solids rather than going all-pattern, which reads more boutique than bargain bin. A black lumbar pillow in front of two cream ones with a single orange pumpkin pillow as the accent is the formula — three colors, repeated. Toss a chunky knit throw over the arm of the couch and the whole corner feels like fall decided to stay for Halloween.
US tip: Pillow covers are one of the few Halloween items worth buying a size up if between sizes — an 18-inch cover on a 20-inch insert looks plump and professional, while a loose cover looks sad. Wash new covers before first use; dark dyes can transfer to light upholstery when new.
7. Send a Swarm of Paper Bats Up the Wall
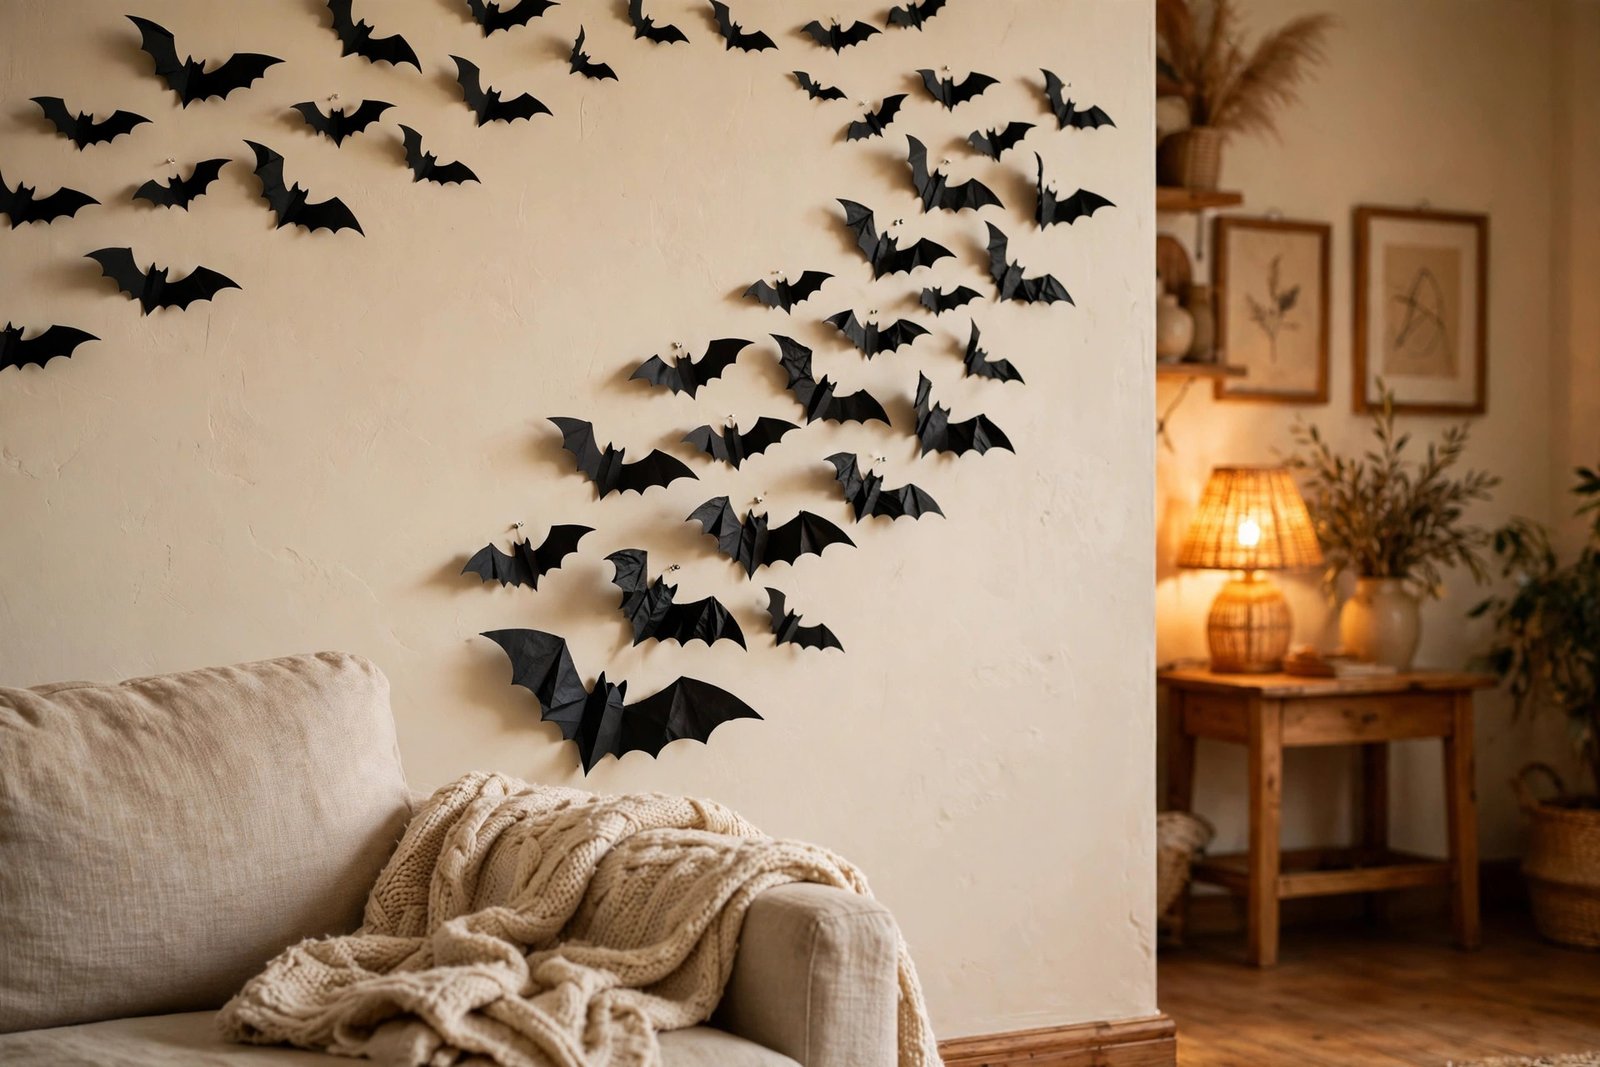
A flock of black paper bats “flying” up your living-room wall is the highest-impact-per-minute decoration on this list. Cut simple bat shapes from black cardstock — fold the paper in half and cut half a bat for perfect symmetry — then stick them to the wall with small loops of painter’s tape or removable adhesive dots, arranging them in a loose swooping curve from low on one side to high on the other, as if they just burst from behind the sofa.
Odd numbers and varied sizes sell the illusion: cut large, medium, and small bats and cluster them tighter at the curve’s origin, spreading out as they “fly” upward. Twenty minutes of cutting gives you forty bats, which is plenty for a dramatic sweep. They work on stairwell walls, above a mantel, or framing a doorway — anywhere with a big blank surface that needs instant drama.
US tip: Use painter’s tape or removable mounting dots rather than regular tape, especially on freshly painted walls — standard tape can pull paint when removed in November. If you love this look and want more wall-worthy living-room ideas for the season, our Halloween living room decor ideas guide has mantel and shelf styling that pairs perfectly with a bat swarm. Keep bats above small-children height if you have toddlers who love to grab.
8. Turn Everyday Jars Into Glowing Apothecary Vessels
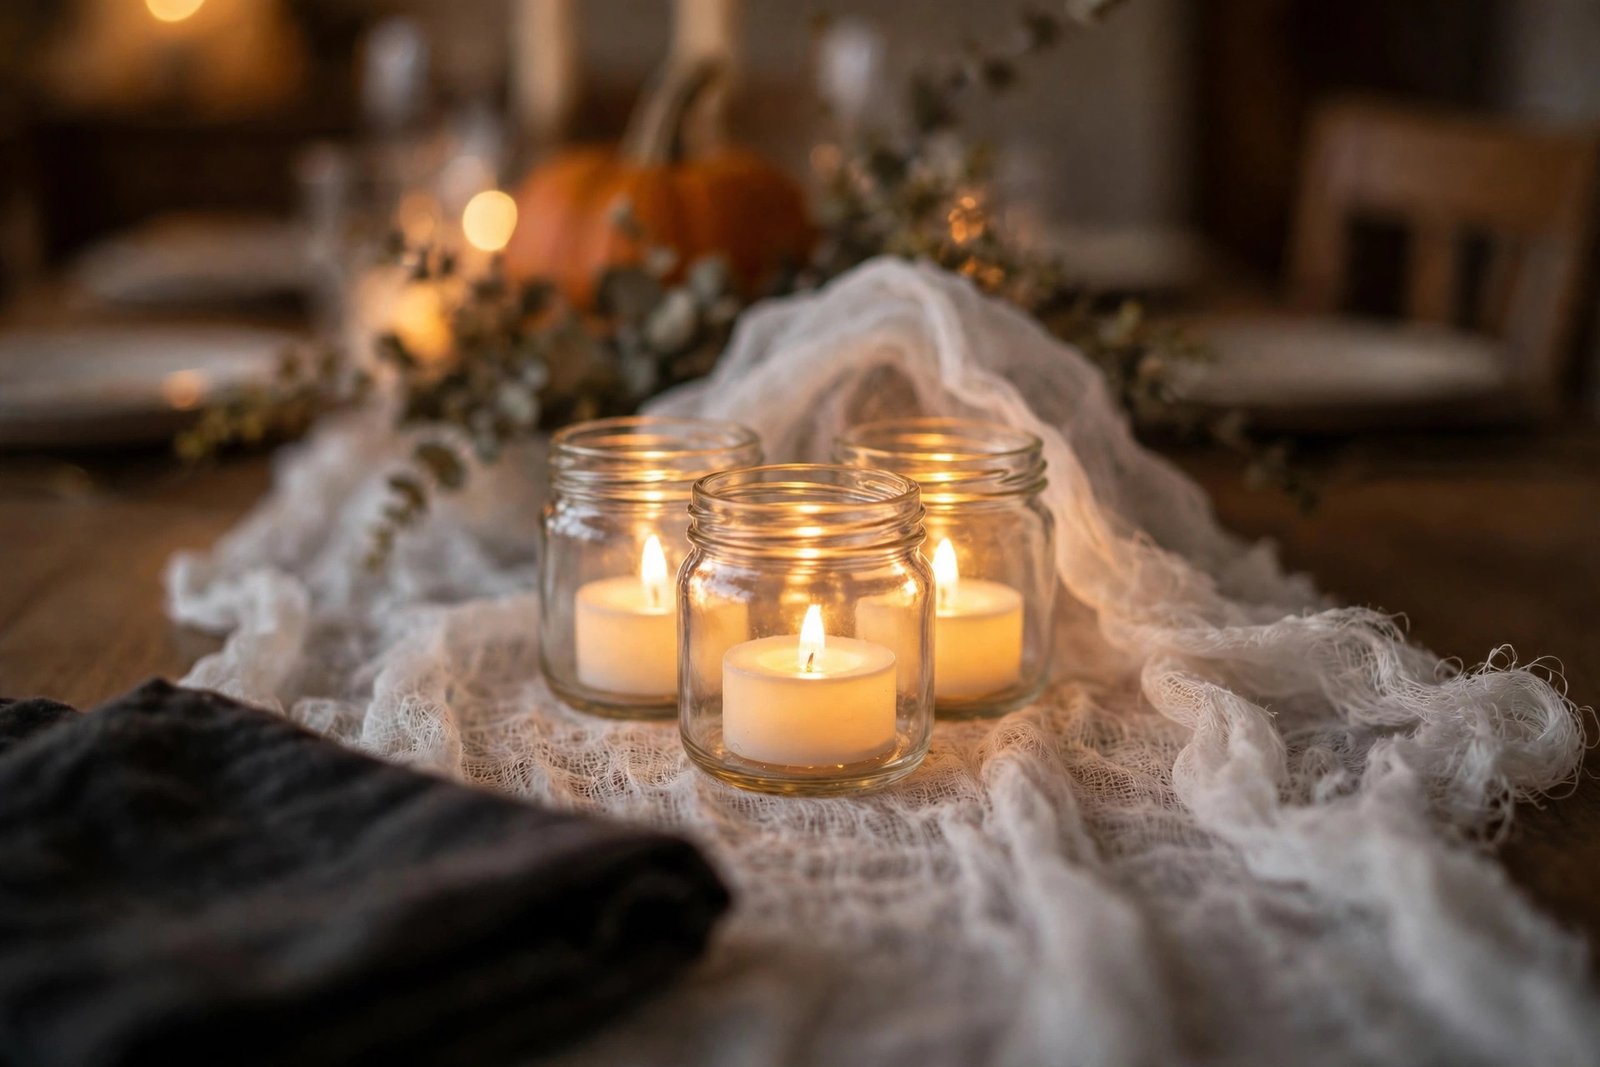
Open your cabinets: mason jars, spaghetti-sauce jars, any glass vessel with a little character. Drop a battery tea light into each, screw the lids off, and cluster them on the mantel, windowsill, or dining table. Plain glass glows beautifully — but a five-minute upgrade makes them look like a curated apothecary shelf: tie a strip of burlap or black ribbon around the neck of each jar, or stick on a blank kraft label (no text needed, the label shape alone reads vintage).
For extra atmosphere, fill the bottom of each jar with dried black beans, coffee beans, or candy corn before adding the light — the contents catch the glow and turn an ordinary jar into something that looks styled. Group jars in threes of varying heights; a tall jar flanked by two short ones is the classic vignette formula. This is also a wonderful use for the jars gathering dust in the back of the pantry.
US tip: If little ones will be around, use plastic jars or place glass ones well back on the surface — a knocked-over glass jar on a hardwood floor is the fastest way to end a party. Battery tea lights with built-in timers (typically 6 hours on, 18 off) mean the whole display lights itself every evening without you remembering.
9. Layer the Doormat and Dress the Door in Ten Minutes
Your front door is the single most-seen decoration you own — every trick-or-treater and every delivery driver sees it. The last-minute formula: layer a larger patterned outdoor rug under your existing doormat (black-and-white buffalo check or simple stripes work for the whole fall season), lean a small chalkboard or wooden sign against the doorframe, and flank the door with your painted pumpkins from idea 4. Ten minutes, and the entrance looks completely intentional.
Do not underestimate the sign. A simple “Witch, please come in” or “Trick or Treat” board propped by the door adds personality that costs almost nothing — chalkboard markers wipe clean for reuse next year. If you have a wreath form from any season, wrap it in black ribbon and tuck in a few faux spiders or mini pumpkins for an instant Halloween wreath. No wreath form? A grapevine wreath from the craft store takes five minutes to spookify with the same treatment.
US tip: Layered rugs can slide on smooth porch floors — put a non-slip rug pad between layers, especially since costumed kids will be hurrying across them in the dark. If your door gets direct afternoon sun (common on west-facing US homes), chalkboard writing can fade; a painted wooden sign holds up better. For more door-specific inspiration beyond this quick version, see our Halloween door decor ideas.
10. Ghostify the Dining Table With a Cheesecloth Runner
Dinner still has to happen on Halloween — so make the table part of the decor. Drape a length of white cheesecloth down the center of your dining table as a runner, letting the ends puddle slightly over the table edges. Down the middle, line up your glowing jars from idea 8, a few mini pumpkins, and a scattering of faux autumn leaves. It takes fifteen minutes and looks like you planned it for weeks.
The cheesecloth does something magical over a dark wood or black tablecloth: its open weave lets the table show through in patches, creating texture and depth that a flat runner never achieves. Add height variation — a tall candlestick or small branchy arrangement at the center, low jars and pumpkins around it — and the table reads styled from every seat. Fold dark napkins simply (no fancy folds needed; a plain rectangle looks modern) and let the runner be the star.
US tip: If you are serving food on this table, keep the cheesecloth runner narrow and centered so plates sit on clear table, not on fabric — melted cheese and gauze do not mix. Battery candles only on a dining table, full stop: sleeves, napkins, and curious kids make real flames a non-starter where people eat.
11. Write on the Bathroom Mirror (Yes, Really)
The five-minute surprise your guests will talk about: write a spooky message on the bathroom mirror with a window marker or dry-erase marker — “BEWARE,” “TURN AROUND,” or a pair of drippy fangs in the corner. It wipes off with glass cleaner on November 1st, costs nothing, and delights every single person who walks in.
This is the ultimate last-minute move because it requires zero shopping and zero skill — blocky capital letters look spookier anyway. Write it slightly off-center rather than dead middle, which reads more “haunted” and less “grocery list.” If you have kids, let them add handprints around the message in washable paint; it washes off the mirror and the memory lasts. Pair it with a black hand towel swapped in for your usual one and the bathroom is done.
US tip: Test your marker on a small corner of the mirror first — most dry-erase and chalk markers wipe cleanly, but some “permanent” window markers do not, and replacing a mirror is not a last-minute project. Avoid writing on antique or specialty-coated mirrors; stick to standard bathroom glass.
12. Hang a Cluster of Floating Candles
The viral floating-candle look takes twenty minutes and a handful of battery-operated taper candles. Tie clear fishing line around the middle of each flameless taper, and hang them at staggered heights from a ceiling hook, curtain rod, or even a sturdy branch wedged in a tall vase. Turn them on, dim the room lights, and you have the great-hall effect for the cost of a few candles.
Staggered heights are everything: hang five to seven candles with at least six inches of variation between the highest and lowest so they read as floating rather than lined up. Over a dining table or in a stairwell, the cluster becomes a chandelier; in a hallway, it turns an ordinary passage into an event. Clear line is genuinely invisible beyond a few feet, especially in dim light, which is the whole trick.
US tip: Use only battery-operated candles for this — hanging real flames overhead is never safe, full stop. Check your ceiling hooks’ weight rating; flameless tapers are light, but seven of them add up. Keep the cluster high enough that tall guests and door swings clear it, and well away from curtains or dried floral arrangements.
13. Set Up a Candy Station With a Skeleton Host
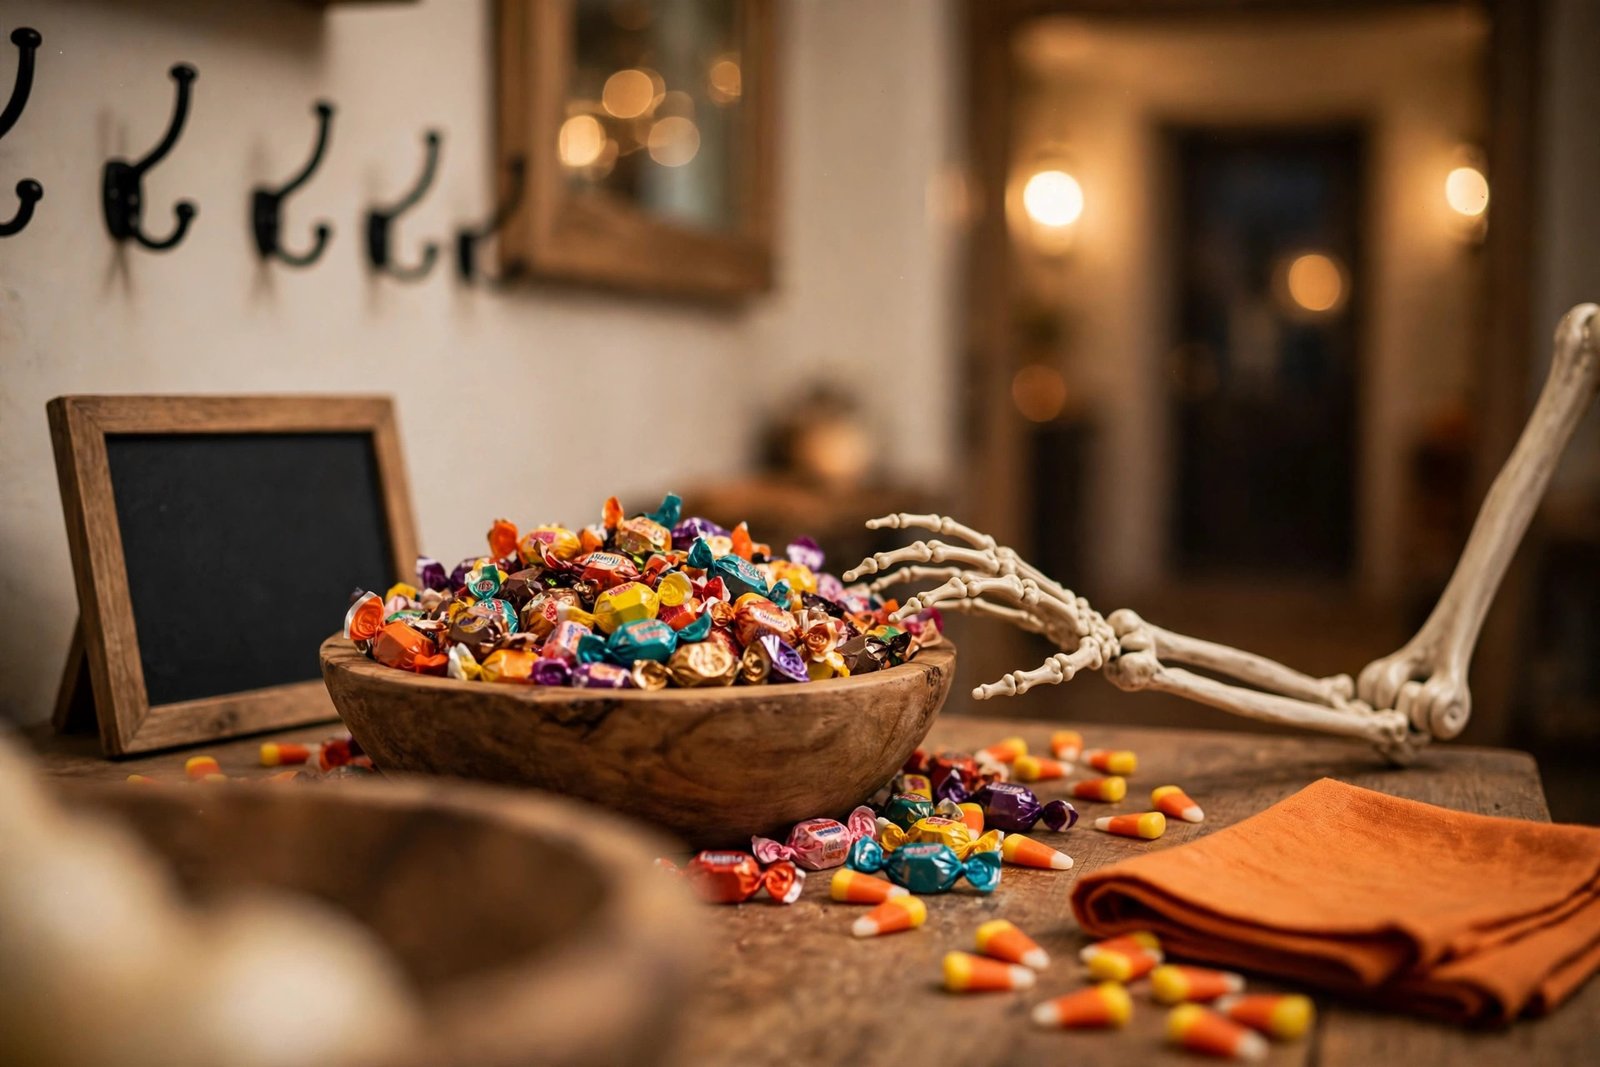
Since Halloween is a Saturday this year, your candy situation is the main event — so make it a display. Set a large bowl of wrapped candy on a console or side table near the front door, drape a black cloth over the table, scatter a few mini pumpkins around the bowl, and seat a poseable plastic skeleton in a chair beside it with one arm extended toward the bowl, as if offering it. Twenty minutes of arranging, and your entryway has a host with the most (bones).
The skeleton is doing all the comedic work here, so pose it with intent: tilted head, arm out, maybe a tiny party hat perched on the skull for the daylight crowd. Around the bowl, add height with stacked books topped by a glowing jar, and keep the candy bowl itself full and mounded — a half-empty bowl reads neglected no matter how cute the skeleton is. Refill from a hidden stash nearby so you are not caught mid-evening with an empty display.
US tip: If you are in a neighborhood with heavy trick-or-treater traffic, set the station just inside the door rather than on the porch — it keeps the candy (and the skeleton) safe from grab-and-run teens and weather alike. Offer a small separate bowl of non-food treats (stickers, glow bracelets) for kids with allergies; the teal-pumpkin convention is widely recognized by US parents and takes thirty seconds.
14. Style a Five-Minute Entryway Vignette
The entryway is the first interior space guests see, and it takes almost no time to Halloween-ify. Clear one surface — the console table, a bench, or even the top of a shoe cabinet — and build a tiny scene: a stack of two books, a small pumpkin on top, a glowing jar beside it, and a folded throw or scarf draped over the edge. Five minutes, four objects, done.
The formula is the same one stylists use year-round: something tall (the jar or a branch in a vase), something low and round (the pumpkin), something flat (the books), and something soft (the draped textile). Swap the pumpkin for a skull and the jar’s tea light for an orange bulb and the same formula turns spooky. Because the entryway is small, restraint reads expensive — one intentional vignette beats a cluttered shelf of random Halloween items every time.
US tip: Entryways get heavy foot traffic on Halloween night, so keep the vignette pushed to the back of the surface and anything breakable away from the edge — capes and costume wings have a wide turning radius. A battery tea light inside a lidded jar is the safest glow for a high-traffic spot. For year-round entryway styling foundations to build on, our entryway decor ideas guide covers the furniture and layout side.
15. Stake a Row of Foam Tombstones in the Lawn
Nothing says “Halloween lives here” to the whole street like a little graveyard. Lightweight foam tombstones — the kind sold in every US craft and big-box store each October — push straight into soft lawn soil with the included stakes. Arrange five to seven in a loose row or cluster near the walkway, tilt a couple at jaunty angles (perfectly straight tombstones look store-bought; crooked ones look haunted), and scatter a few faux bones or a plastic skeleton arm emerging from the mulch in front.
Thirty minutes including unboxing. For daylight impact, which matters on a Saturday Halloween, the gray foam reads clearly from the street even at noon — add a black crow or two perched on top (craft-store crows have wire feet that grip the foam) and the scene gains a focal point. At night, aim one of your string-light strands or a small spotlight at the row so it glows for evening visitors.
US tip: Push stakes in at an angle rather than straight down for better wind resistance — October gusts topple straight-staked foam easily. Bring foam tombstones inside during heavy rain; the painted finish survives a drizzle but a downpour can warp them. And keep the display clear of the walkway edge so trick-or-treaters are not stepping around it in the dark.
Products to Consider
If you are making that one store trip, here is the short list of genuinely useful categories that power most of the ideas above. Stick to basics — everything here gets reused for years.
- Battery-operated LED tea lights (multi-pack with timer function)
- Amber or orange LED porch bulb, outdoor-rated
- Orange or warm-white outdoor string lights
- Kraft paper lunch bags for luminaries
- White and black cheesecloth (a few yards of each)
- Black cardstock or a black plastic tablecloth for silhouettes and bats
- Craft paint in matte black, cream, and burnt orange
- Removable adhesive dots or painter’s tape for wall-safe hanging
- Flameless taper candles and clear fishing line for floating candles
- Foam tombstones with ground stakes for the yard
- A poseable plastic skeleton (the hardest-working Halloween prop there is)
- Halloween pillow covers in your existing pillow sizes
Frequently Asked Questions
How can I decorate for Halloween if I only have one evening?
Prioritize the three things visitors actually see: the porch light, the front door, and the walkway. Swap the porch bulb for amber, line the walk with paper-bag luminaries, and layer your doormat with a sign by the door — that is under an hour total and covers 90 percent of the visual impact. Add the pillow-cover swap indoors (ten minutes) and you are done. Everything else on this list is bonus.
What is the cheapest way to decorate for Halloween last minute?
Paper and light. Black construction paper bats, window silhouettes, and cheesecloth cost a few dollars total, and a multi-pack of battery tea lights transforms jars, bags, and pumpkins you already own. The single highest-impact cheap move is the amber porch bulb — one bulb changes the entire mood of your home’s exterior after dark.
Are battery-operated candles safe to leave on all evening?
Yes — that is exactly what they are designed for. LED flameless candles stay cool to the touch, so they are safe around cheesecloth, paper bags, dried leaves, curtains, and curious kids and pets. Choose ones with a built-in timer (usually 6 hours on, 18 off) so the display lights itself each evening and you never leave them running unintentionally. Keep real flames completely out of your Halloween setup.
How do I decorate for trick-or-treaters during daylight?
This matters more than usual in 2026 since Halloween falls on a Saturday and many families start early. Lean on shapes and color rather than glow: painted pumpkins, paper bats, window silhouettes, tombstones, and layered doormats all read clearly at noon. Save the luminaries and string lights as your evening second act — they will still be there when the sun goes down.
How do I keep decorations from blowing away on a windy October night?
Weight is everything. Put sand in the bottom of luminaria bags, stake tombstones at an angle, secure cheesecloth with clothespins or garden staples, and bring lightweight foam items inside if winds get serious. Tape down any cords crossing the walkway with gaffer tape — it holds in wind and keeps trick-or-treaters from tripping. When in doubt, move the display closer to the house where the structure blocks the wind.
Final Thoughts
Here is the secret the Halloween industry does not want you to know: the houses people remember are not the ones with the most stuff. They are the ones with a clear idea — a glowing walkway, a door that makes you smile, a table that feels like an occasion. Every project on this list takes minutes, not days, because great Halloween decor is about atmosphere, not inventory.
So pick your three favorites tonight, make the one store trip tomorrow, and give yourself the weekend to actually enjoy the season instead of stressing about it. Light the luminaries, put the skeleton in charge of the candy bowl, and answer the door with the porch glowing amber. Ten days is plenty of time — you have got this. Happy Halloween.